
My '03 IP Coupe


Thread Starter
|
Registered User
Joined: Mar 2011
Posts: 77
Likes: 0
From: NorCal
My '03 IP Coupe
Hey guys,
I've been slowly modding my G, one weekend project after another. I'm just condensing my posts to make a build thread. Thanks to all the comments from members on my old thread; I've also linked DIYs as I take on each project.
I'm always willing to answer questions and take more pictures, and I love comments so leave a post! =D
03-20-2011
Pictures!
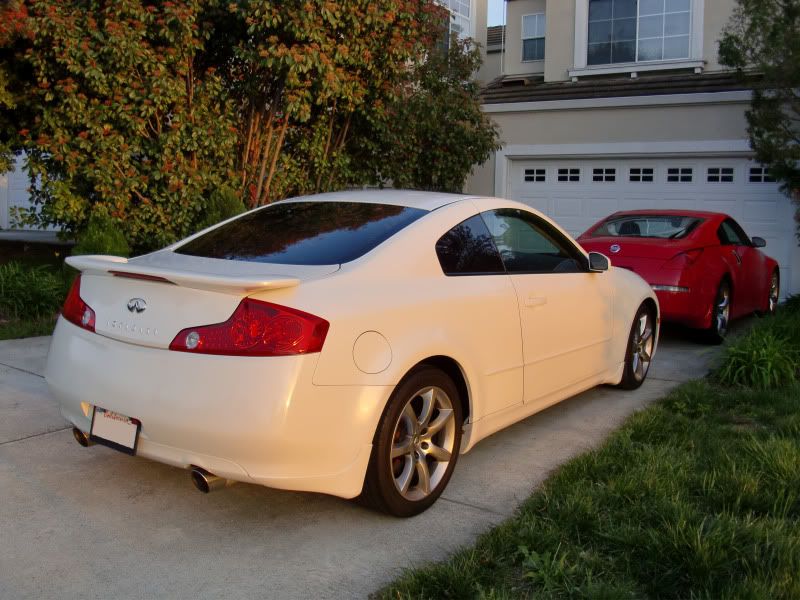
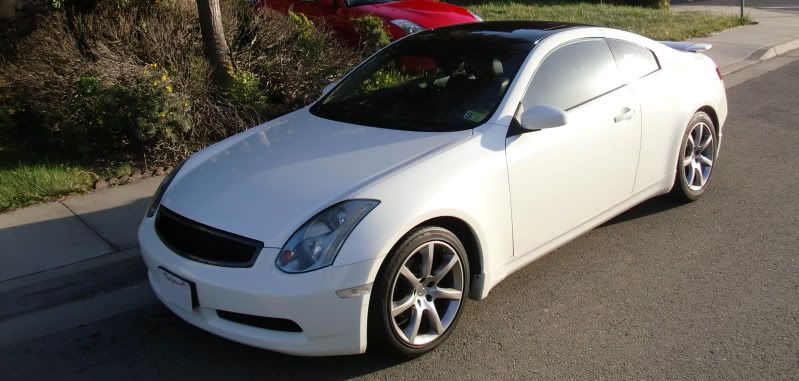
My clear corners... I was warned someone might steal them. XD
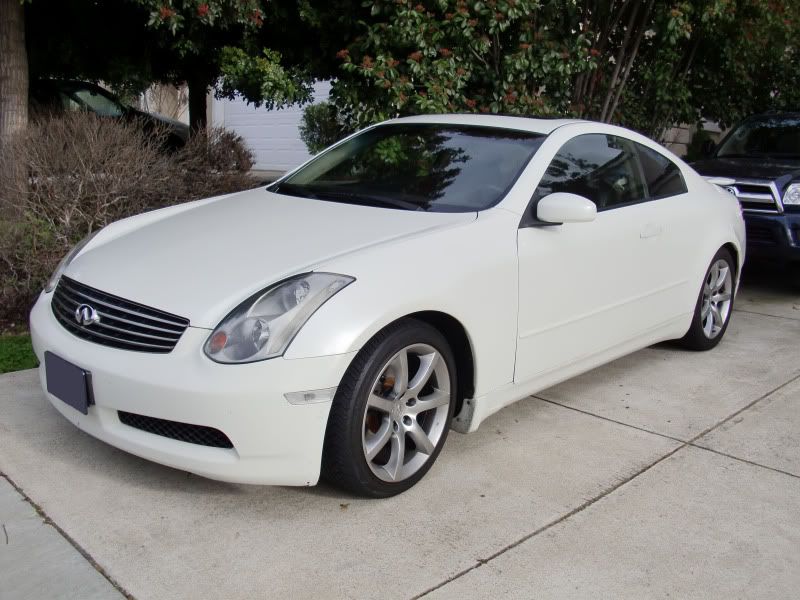
The Z is the boyfriend's.
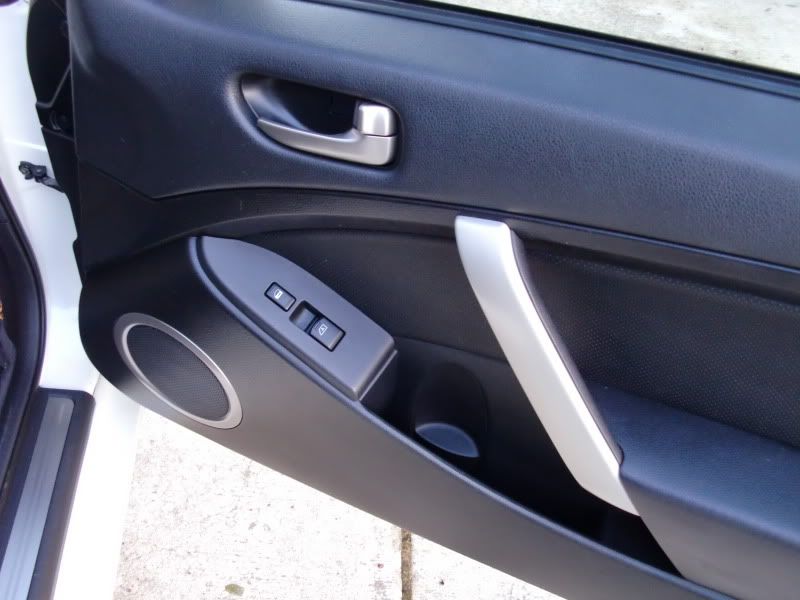
It was hard to find an IP with black interior. ^^ Carpets are coming! Will post a picture of painted door pulls next.

03-22-2011
Posting pictures of my repainted door pull trim. Used this DIY.
03-28-2011
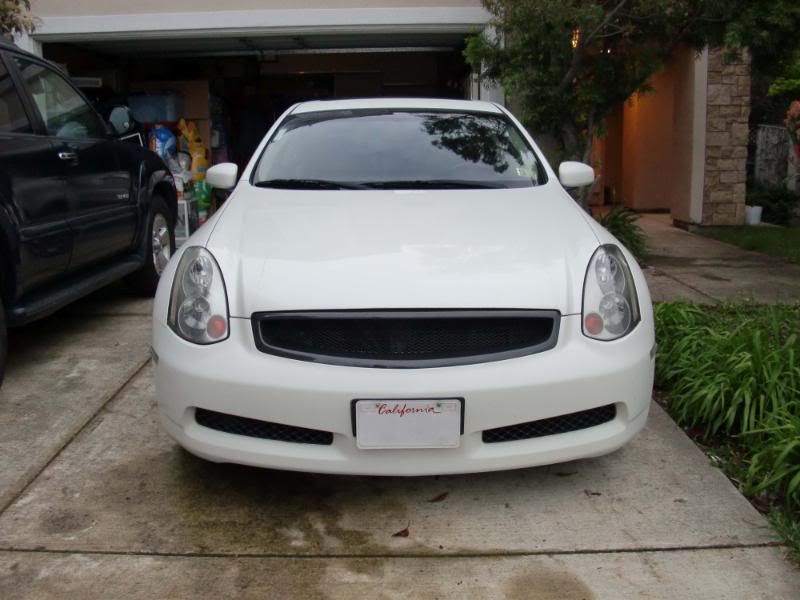
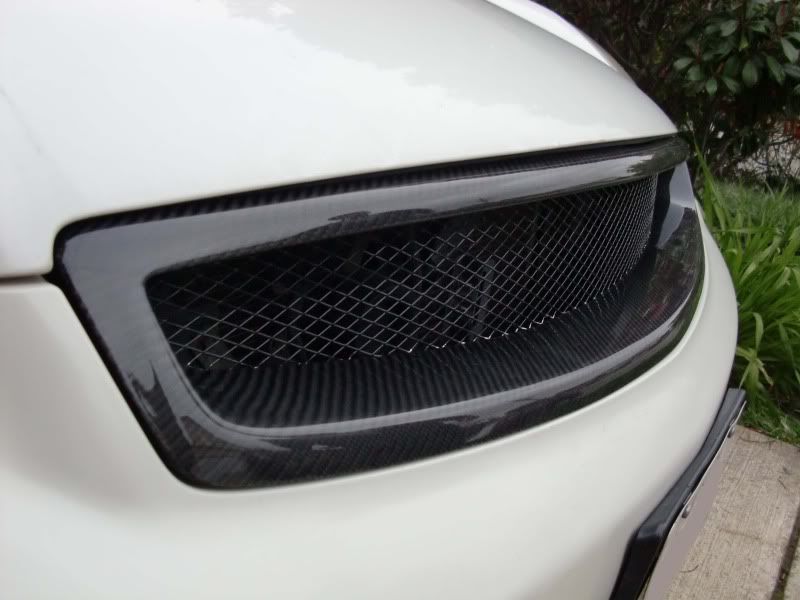
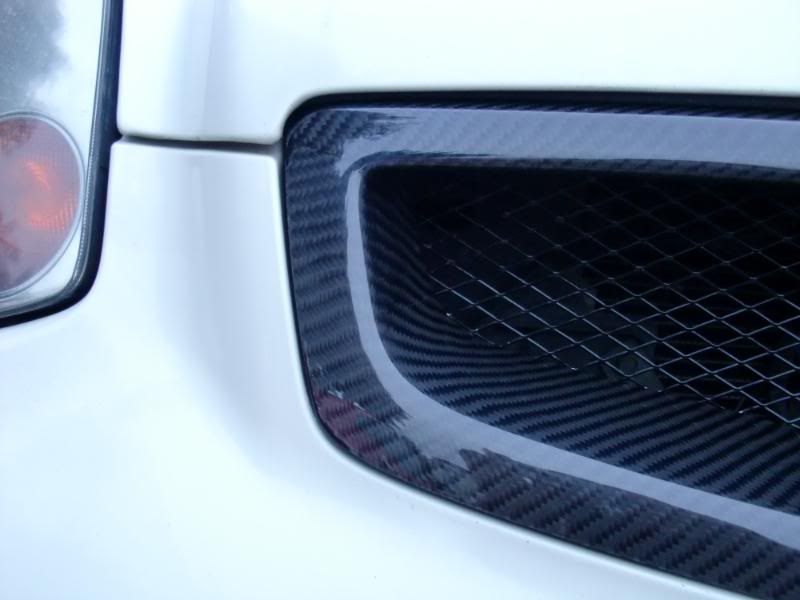
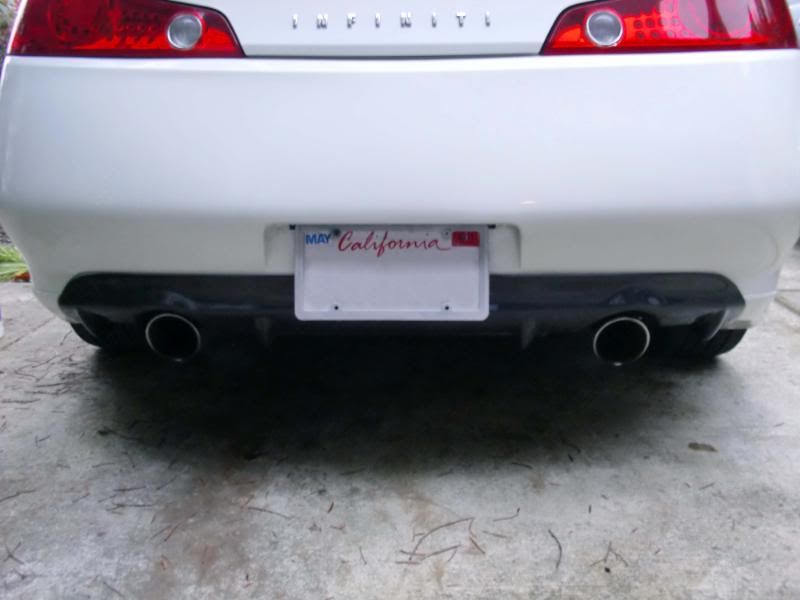
Finally got my CF grill and diffuser! The fitment is okay. The grill has space between the top and the hood while the bottom is very snug. The diffuser is a little short so one side is really snug and the other.. not so much.
ViS Carbon Fiber grill installed using this DIY. Honestly, I think my b/f ended up breaking one of the clips that attaches it the the bumper because it wouldn't budge. The ViS Grill had no clips on the top. So we bought new plugs to hold it in. Another thing I noticed. The bottom of the mesh in the grill seems to be missing paint,; will need to get something to paint that in.
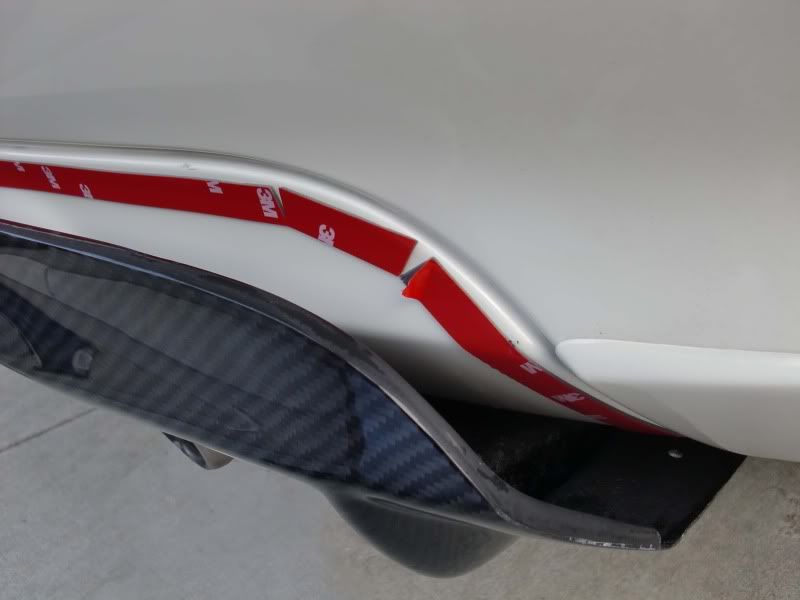
ViS Carbon Fiber Rear Diffuser. Installed with 3M Super Strength Molding tape and 4 screws. 2 on each side from under the car, 2 under the license plate.
Installation woes...
I attached the tape to the car, and we had two people push the diffuser on to the tape, holding it for about 5 mins. We let go.. and the diffuser popped off. The diffuser had a folded over edge where we were supposed to attach the tape. We looked at the tape and the diffuser and discovered that the diffuser had a layer of paint on the folder over edge that came off when we scratched it with a fingernail. The 3M tape was just pulling that paint layer off. We proceeded to scrape off all the paint and wiped it down again with alcohol. I also noticed that the contact of the diffuser and bumper wasn't flush either.. only very few parts of the tape made contact with the diffuser and pulled paint off. So I used two layers of 3M tape. It stuck! Proceeded to do the 4 screws. There were 2 more screw holes predrilled on the diffuser but the area it was against on the diffuser was some metal plate so we just skipped it.
Unfortunately, the next day I saw this.
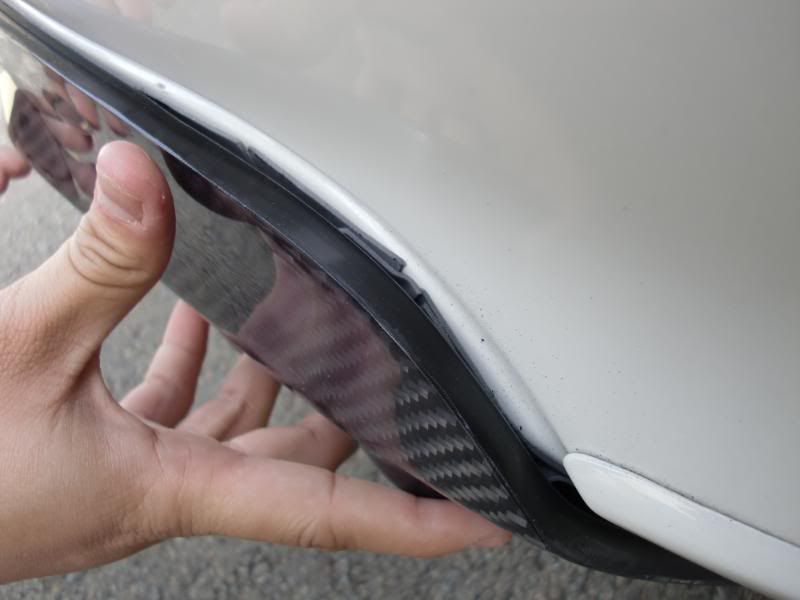
The two layers of tape were separating. This happened only on one side.. the side I was pushing in so maybe it didn't have as good of a contact. So I had my b/f try and push the diffuser back in place. We'll see how that holds.
04-05-2011
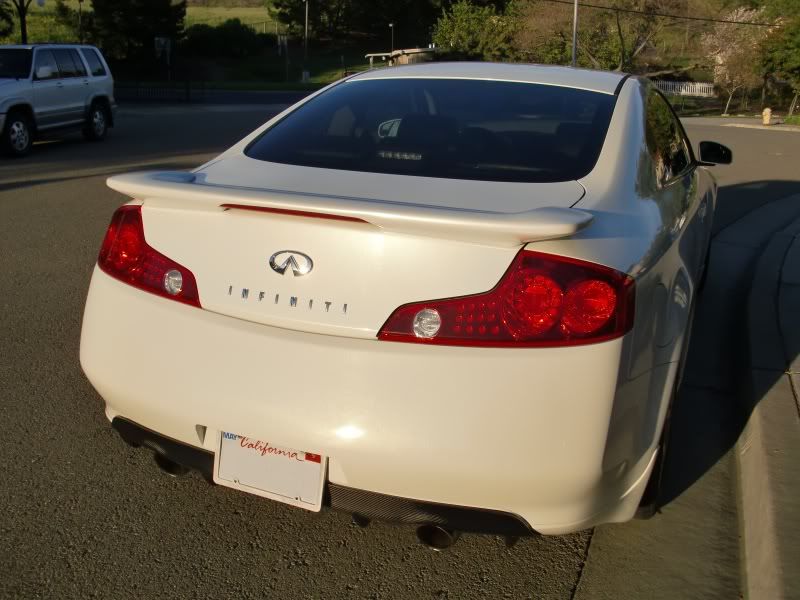
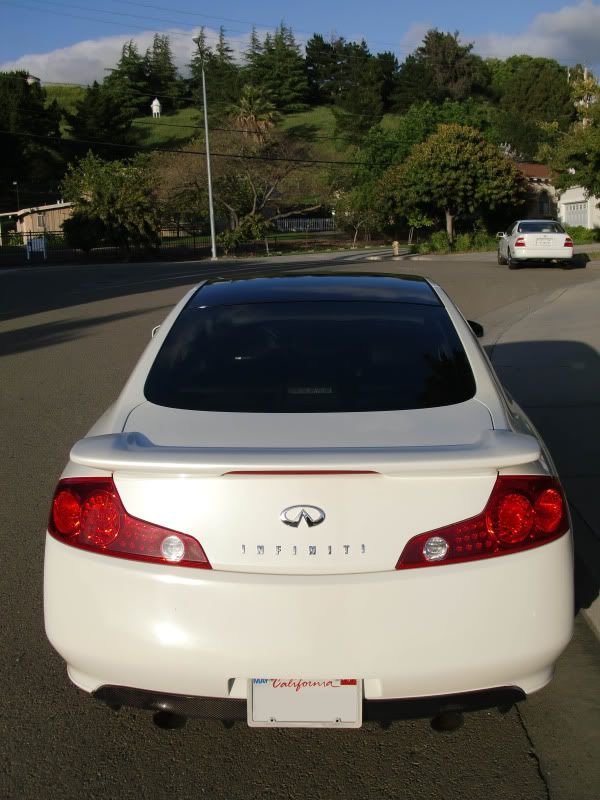
New pictures! Clean and demolded.
04-26-2011
Before:
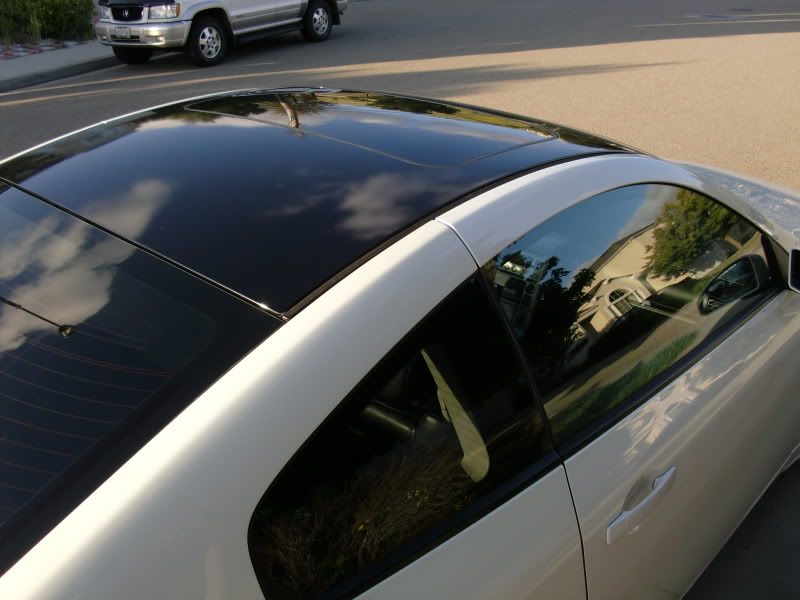
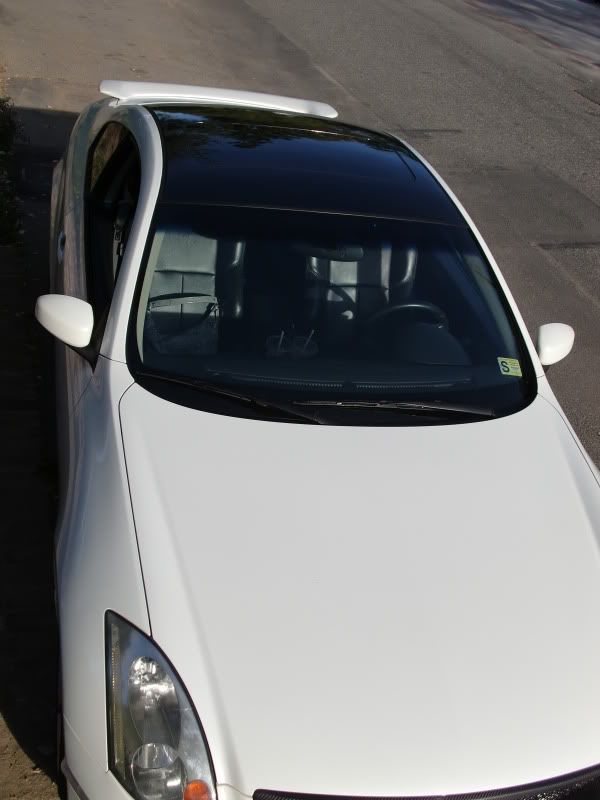
After:

04-26-2011
I'm very happy with how my overlay and it was quite easy to do. I used this DIY.
I did it with 2 people. Washed the car, wiped it down with soapy water. Tried to clay bar.. and gave up.
I laid the overlay on top of the car, backing side up, and peeled off the backing, using a wet towel to get the sticky side wet.
Flipped it over, moved it in place and started squeegeeing out the water. Patience comes in because we had to lift it up and lay it down again to get rid of some of the air bubbles.
While the backing is still wet, you can push the bubbles out with your thumb, but if it's dry, it will just create "worms" where the vinyl just sticks to itself.
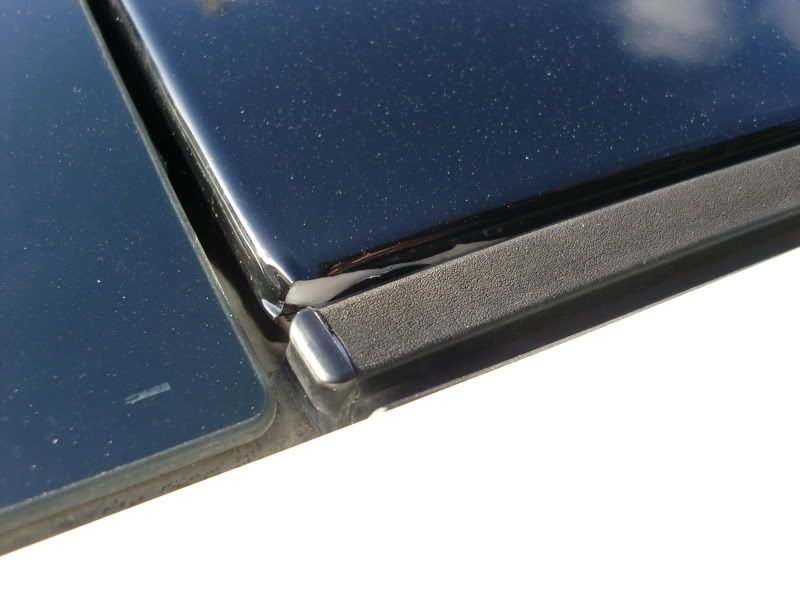
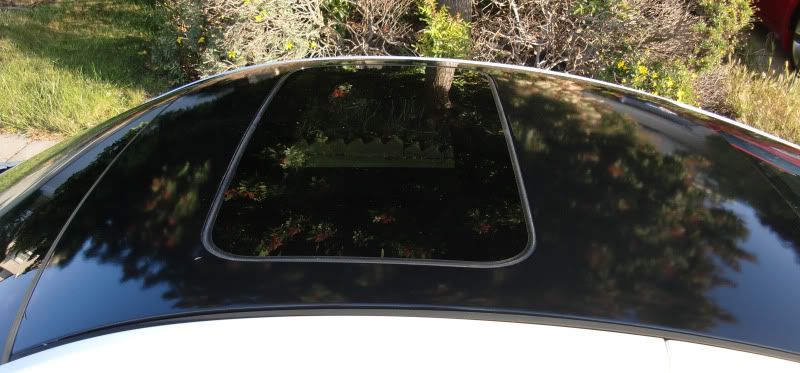
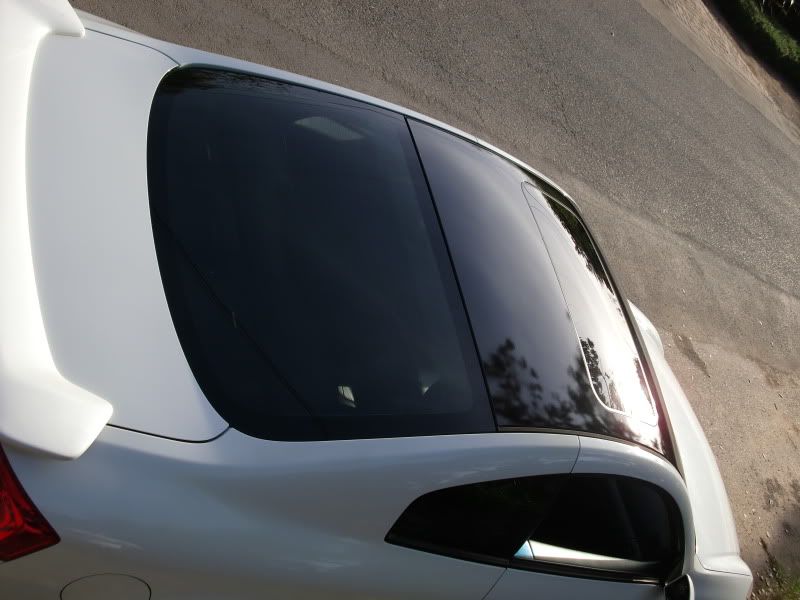
Getting the edge of the sunroof to bend and stick took time and I did end up making some cuts to make it bend easier.
Finishing required the most problem solving and caused the most problems for me. I had to trim the edges of the overlay and tuck it into the seams and edges of the car... which caused some air pockets at the edge and I actually ripped a small corner as well. Don't drag a card against the overlay without something between the two >.>
Alot of the small dots that I saw on the install disappeared by the next day. The creases from shipping also disappeared. Heat is your friend during the end. Didn't really use the hairdryer I had set up at all.
My coupe is '03 so the trim around the moonroof is faded. I will try the trim restore kit on it to make it much darker.
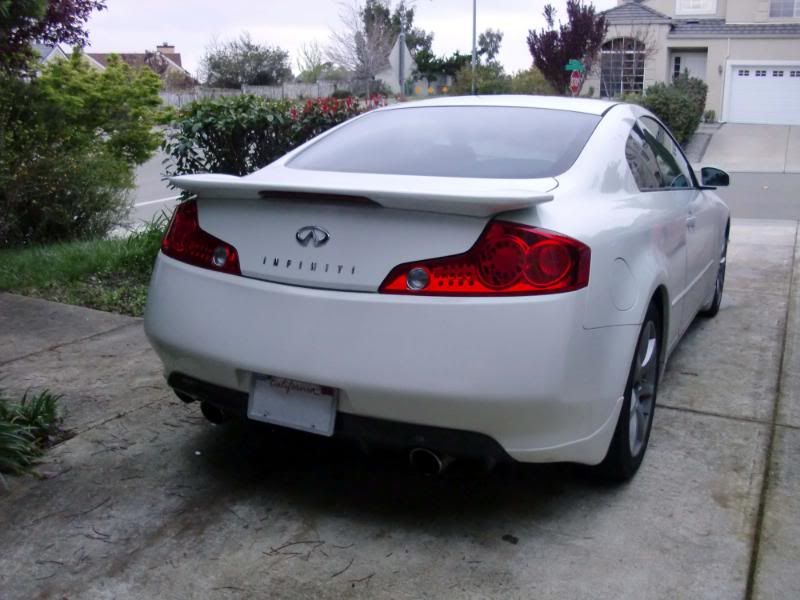
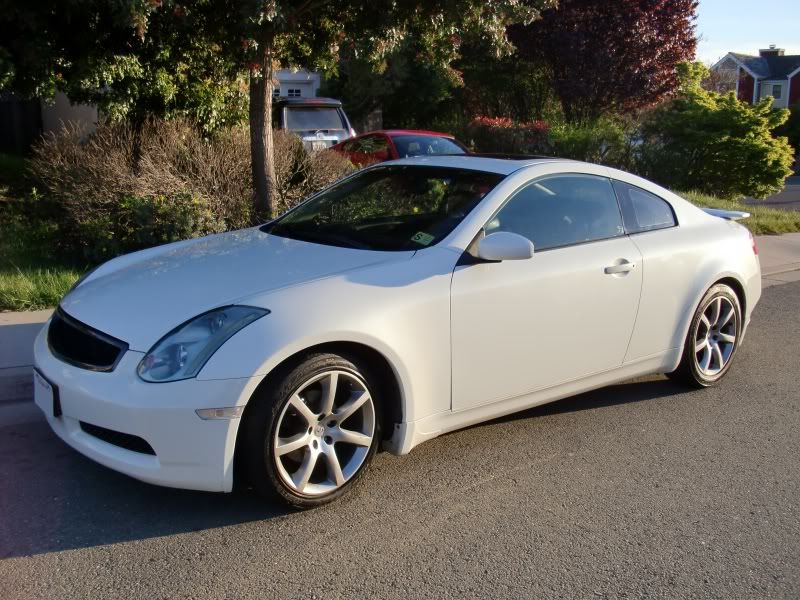
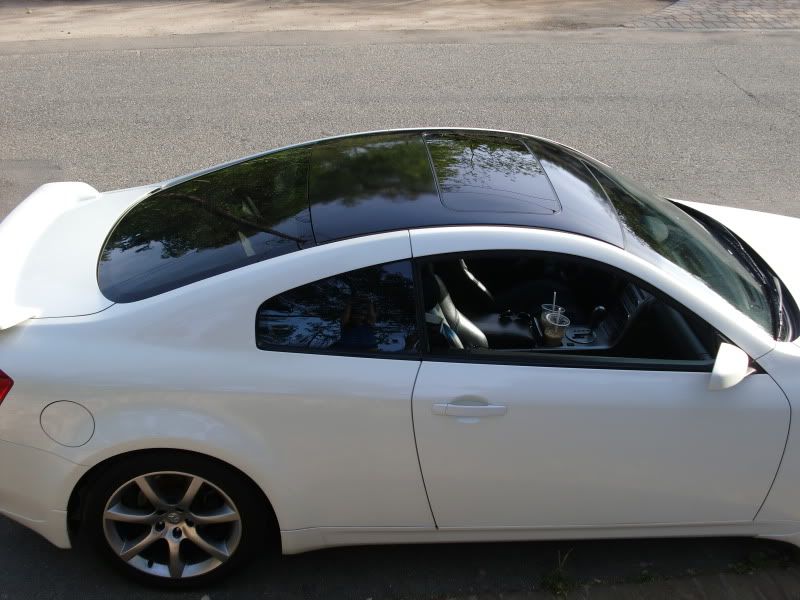
And because pictures are awesome..
04-03-2011
I need a higher perch ^^ I will go take some more pictures closer to eye level if you like.

I've been slowly modding my G, one weekend project after another. I'm just condensing my posts to make a build thread. Thanks to all the comments from members on my old thread; I've also linked DIYs as I take on each project.
I'm always willing to answer questions and take more pictures, and I love comments so leave a post! =D
03-20-2011
Pictures!
My clear corners... I was warned someone might steal them. XD
The Z is the boyfriend's.
It was hard to find an IP with black interior. ^^ Carpets are coming! Will post a picture of painted door pulls next.
03-22-2011
Posting pictures of my repainted door pull trim. Used this DIY.
03-28-2011
Finally got my CF grill and diffuser! The fitment is okay. The grill has space between the top and the hood while the bottom is very snug. The diffuser is a little short so one side is really snug and the other.. not so much.
ViS Carbon Fiber grill installed using this DIY. Honestly, I think my b/f ended up breaking one of the clips that attaches it the the bumper because it wouldn't budge. The ViS Grill had no clips on the top. So we bought new plugs to hold it in. Another thing I noticed. The bottom of the mesh in the grill seems to be missing paint,; will need to get something to paint that in.
ViS Carbon Fiber Rear Diffuser. Installed with 3M Super Strength Molding tape and 4 screws. 2 on each side from under the car, 2 under the license plate.
Installation woes...
I attached the tape to the car, and we had two people push the diffuser on to the tape, holding it for about 5 mins. We let go.. and the diffuser popped off. The diffuser had a folded over edge where we were supposed to attach the tape. We looked at the tape and the diffuser and discovered that the diffuser had a layer of paint on the folder over edge that came off when we scratched it with a fingernail. The 3M tape was just pulling that paint layer off. We proceeded to scrape off all the paint and wiped it down again with alcohol. I also noticed that the contact of the diffuser and bumper wasn't flush either.. only very few parts of the tape made contact with the diffuser and pulled paint off. So I used two layers of 3M tape. It stuck! Proceeded to do the 4 screws. There were 2 more screw holes predrilled on the diffuser but the area it was against on the diffuser was some metal plate so we just skipped it.
Unfortunately, the next day I saw this.
The two layers of tape were separating. This happened only on one side.. the side I was pushing in so maybe it didn't have as good of a contact. So I had my b/f try and push the diffuser back in place. We'll see how that holds.
04-05-2011
New pictures! Clean and demolded.
04-26-2011
Before:
After:
04-26-2011
I'm very happy with how my overlay and it was quite easy to do. I used this DIY.
I did it with 2 people. Washed the car, wiped it down with soapy water. Tried to clay bar.. and gave up.
I laid the overlay on top of the car, backing side up, and peeled off the backing, using a wet towel to get the sticky side wet.
Flipped it over, moved it in place and started squeegeeing out the water. Patience comes in because we had to lift it up and lay it down again to get rid of some of the air bubbles.
While the backing is still wet, you can push the bubbles out with your thumb, but if it's dry, it will just create "worms" where the vinyl just sticks to itself.
Getting the edge of the sunroof to bend and stick took time and I did end up making some cuts to make it bend easier.
Finishing required the most problem solving and caused the most problems for me. I had to trim the edges of the overlay and tuck it into the seams and edges of the car... which caused some air pockets at the edge and I actually ripped a small corner as well. Don't drag a card against the overlay without something between the two >.>
Alot of the small dots that I saw on the install disappeared by the next day. The creases from shipping also disappeared. Heat is your friend during the end. Didn't really use the hairdryer I had set up at all.
My coupe is '03 so the trim around the moonroof is faded. I will try the trim restore kit on it to make it much darker.
And because pictures are awesome..
04-03-2011
I need a higher perch ^^ I will go take some more pictures closer to eye level if you like.


i have a "G35 Driver license plate" if you want it free.
ill be back in norcal on the 20th dropping off car parts again. so lmk if you want it ill bring it
Trending Topics
Thread Starter
|
Registered User
Joined: Mar 2011
Posts: 77
Likes: 0
From: NorCal
I'd love to do more but as of right now I'm at (meaning past) my budget. =D
Up close, the paint on my bumper is in bad shape... death to rock chips. If I were to do anything, it would be to get the Nismo bumper. I was quoted at $400 to paint a new bumper IP, and only because it was a special connection.
Then a drop and wheels (SF-Challenges <3).
Next weekend project will be either HID lights or front license removal. Someone used screws that are way too long and I have a lot of repairing to do.
Thread Starter
|
Registered User
Joined: Mar 2011
Posts: 77
Likes: 0
From: NorCal
lol, chinese actually. I don't know how you guessed Viet from two McDonald's coffees. ^^
Oh snaps those were mcdonalds? Lol i thought they were those asian to-go places lol
Yea our color is very expensive to paint, i was charged 550 for my nismo.
What are you planing to do with your headlights? 6k bulbs?
Yea our color is very expensive to paint, i was charged 550 for my nismo.
What are you planing to do with your headlights? 6k bulbs?


