

Registered User
Wow Heist's interior looks so nice. Might have to try this one in the future....and the OP's DIY is hilarious!

Registered User
For those who want to see a visual for my attempt to copy factory finish.
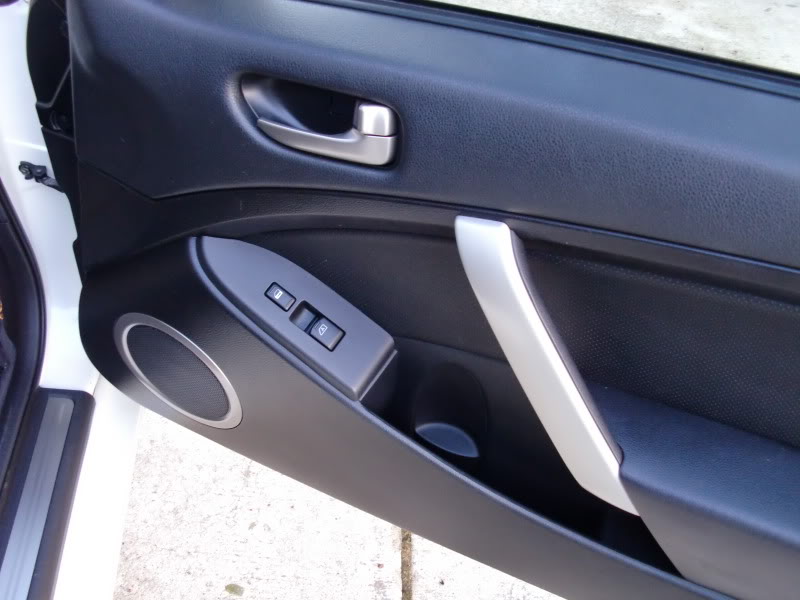
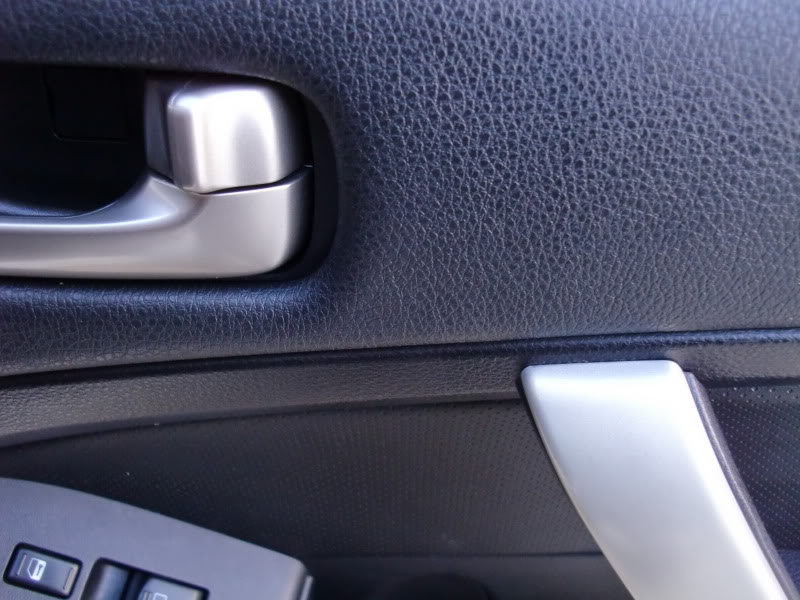
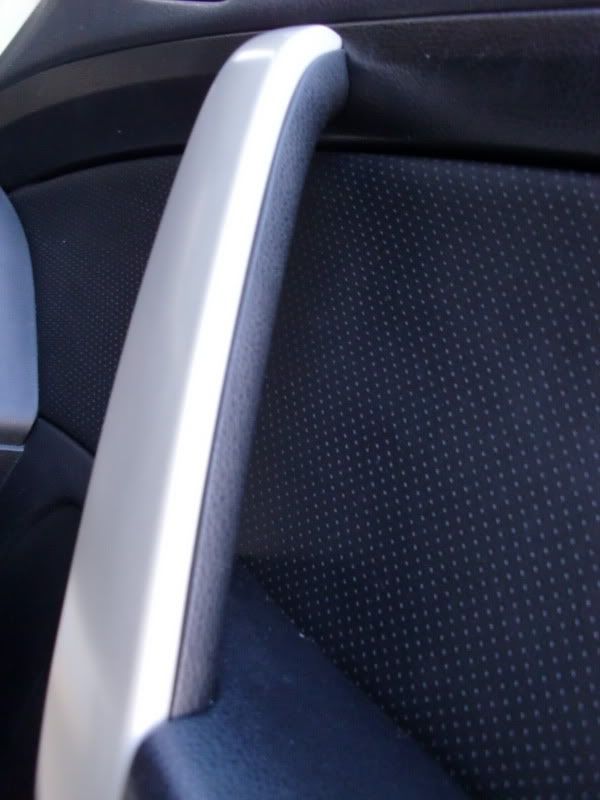
Used 600 grit sandpaper to get the original paint off.
Wiped it down with 71% alcohol.
2 coats of Rustoleum Auto primer
Sanded it lightly with 800 grit.
3 layers of Krylon Brushed Metallic Interior paint in Nickle with Satin finish.
Finished with 3 layers of Krylon Clear coat with Satin finish.
This ended up being a bit more silver/lighter then my door handles but I'm happy with them. All thanks to the boyfriend's hard work XD.
We'll see how they hold up to every day use...
Thanks for the great DIY!
NFSP G35
? = 2B || !2B
close


Today
- Join DateApr 2009
- LocationTallahassee, FL (or thereabout)
- Posts:22,160
-
iTrader Positive Feedback100
-
iTrader Feedback Score(22)
-
Likes:201
-
Liked:852 Times in 640 Posts
^Not too shabby.
I wonder if a black base-coat would have darkened it enough?
Good work
I wonder if a black base-coat would have darkened it enough?
Good work
Registered User
Thanks! ^^ I felt like the paint really covered the primer. I would want to try a bronze topcoat or something XD.


Registered User
Is this a simple as it looks? In the terms of removing the door cover. Just to verify, all I need to do is put a flathead screw driver where shown to place and twist?


Registered User
How did you get under the armrest in the center console... i wanna spray the middle console but if it doesnt match under the armrest ima be rocking a few different colors...does duplicolor make a color close to the silver?
Quote:


Originally Posted by NFSP G35
^Actually, I did my console as well. I'm not done with it, still have to get a black shift **** and a DD kit, but it doesn't look cheesy at all.NFSP G35
? = 2B || !2B
close
Today
- Join DateApr 2009
- LocationTallahassee, FL (or thereabout)
- Posts:22,160
-
iTrader Positive Feedback100
-
iTrader Feedback Score(22)
-
Likes:201
-
Liked:852 Times in 640 Posts
Just start taking it apart. Once you get the rear portion out, I believe it's just 4 screws that hold on the arm-rest.
Just look for a DIY on removing the console. Maybe a double din install DIY since you have to remove the front half of the console to do that anyway.
As for imitating the factory finish, look at post #107 of this thread.
Just look for a DIY on removing the console. Maybe a double din install DIY since you have to remove the front half of the console to do that anyway.
As for imitating the factory finish, look at post #107 of this thread.
Registered User
ohh damn my badd missed that...still deciding if i should go with a different color too..thnx anyways for the help

Registered User
Ash, you're a saint. Nice DIY and a good laugh at that
I'm thinking I may redo the entire interior in this over the winter. How do you think it will hold up on the "lighter" tan portions of our interior? With it being textured, I don't really want to get into sanding it, and would like to keep the OEM texture. Any thoughts or ideas? Your prep work skills are incredible!
I'm thinking I may redo the entire interior in this over the winter. How do you think it will hold up on the "lighter" tan portions of our interior? With it being textured, I don't really want to get into sanding it, and would like to keep the OEM texture. Any thoughts or ideas? Your prep work skills are incredible!
NFSP G35
? = 2B || !2B
close
Today
- Join DateApr 2009
- LocationTallahassee, FL (or thereabout)
- Posts:22,160
-
iTrader Positive Feedback100
-
iTrader Feedback Score(22)
-
Likes:201
-
Liked:852 Times in 640 Posts
^My cousin used this same "paint" or dye, whatever you want to call it, extensively in his truck.
It's holding up really well, even on the "Padded" parts of his dash (where it's a bit flexible) which I found surprising. For those areas (where you can't sand) we just stripped all the oil out of it by wiping down with rubbing alcohol several times.
I'm still to nervous to try it on the G's dash... If he messed up his truck dash, that was like $150... if I mess up the G, it's a good deal more than that