
Clock Light Replacement - Guide


Ill quote myself when I swapped clocks with a friends I30.
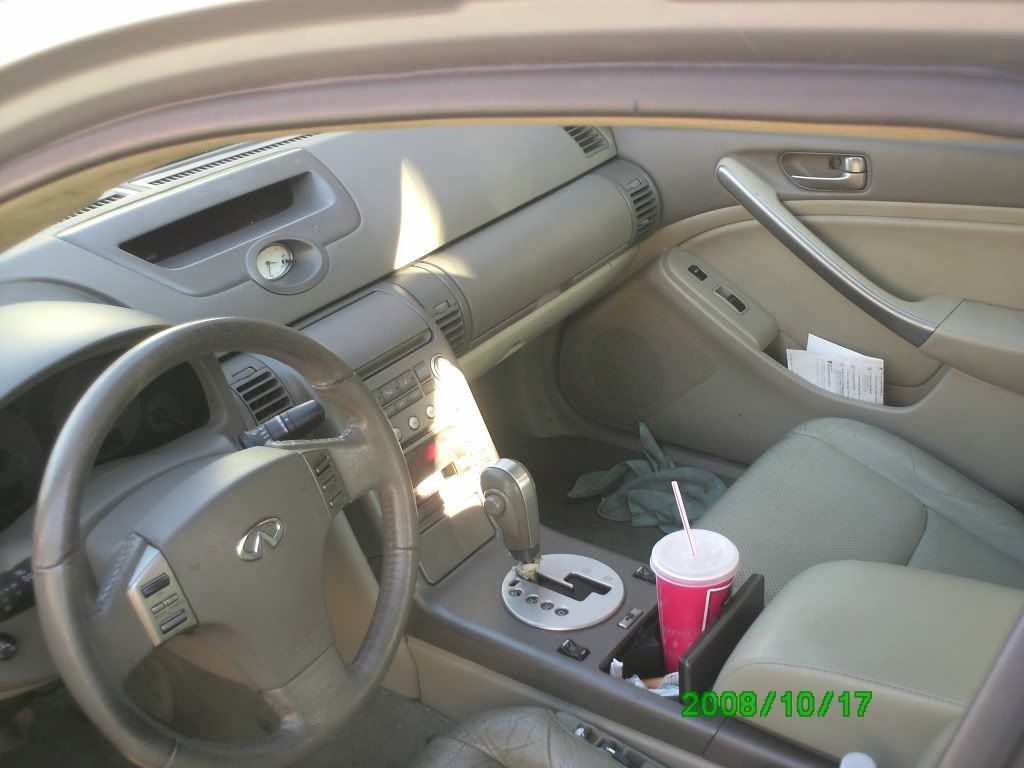
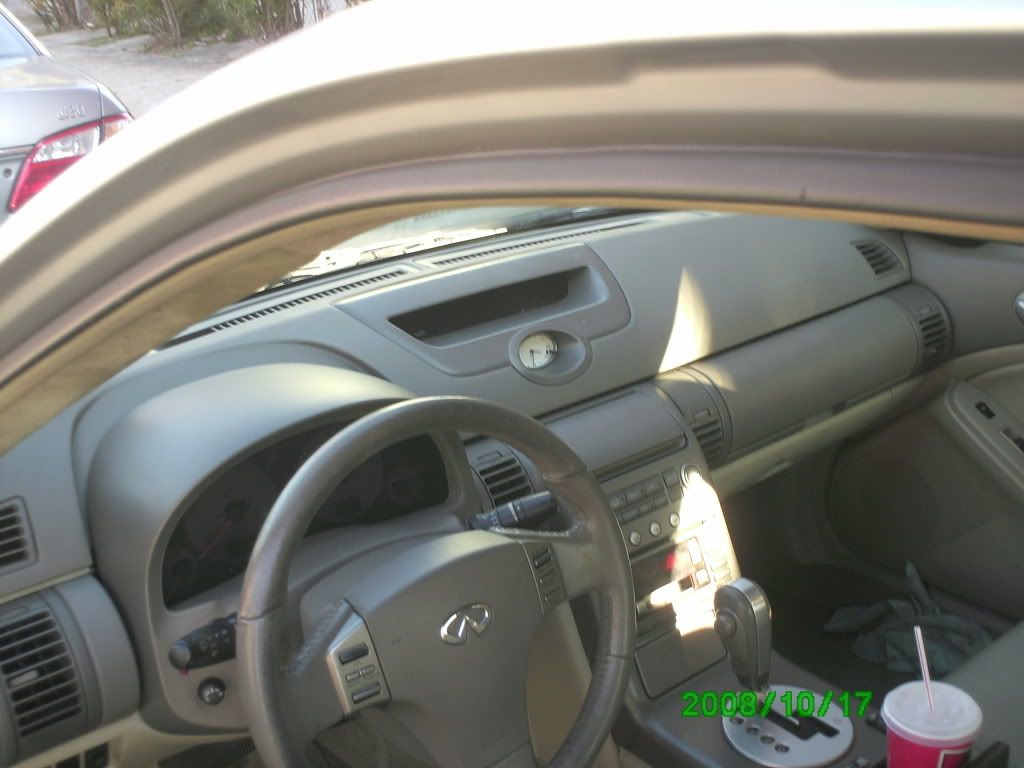
I have always thought that the white face clock that came in the 2001 and up I30's and I35's was the perfect match for the G's Wheat interior, so I finally took the time with a friend of mine to switch our clock faces.
The switch itself is pretty simple, and I know I have seen a DIY somewhere so if anyone finds the link to it, post it up in here and Ill add it to this OP. Otherwise the G's clock is easy to get access to, simply take the gray trim piece surrounding the climate display and clock and pull it towards you. It might not feel like its coming out too easily but don't be too worried with it. Mine needed 2 sets of hands to come out.
The I30's interior involves pulling out the upper vents underneath the clock, which gives you access to 2 screws holding down the cover/upper trim piece. There are 2 clips at the very back of the trim piece you will need to clear before you get full access to the clock which is mounted to the trim piece itself.
The clock face swap is fairly simple as well. Both clocks look exactly the same, so just unscrew the 4 screws holding the clocks front trim piece, and the 2 screws on the back holding the control board and clock to the back cover. Swap the interiors, and re-screw all 6 screws. Make sure to note that the 2 rear screws are longer than the front 4.
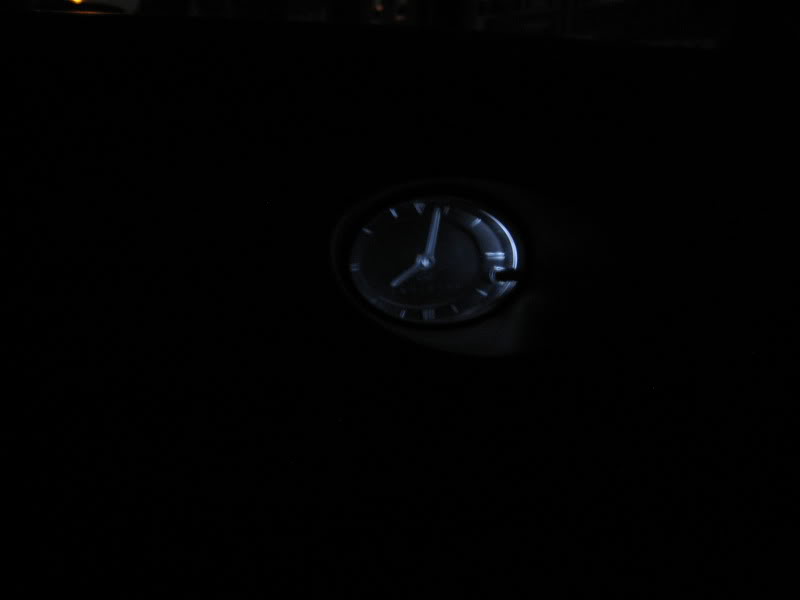
The bulbs in the I30 light up green, so turn your clocks over now and you should see 2 gray or black circles with X's in the middle. Simply turn these with a screwdriver and your bulbs will pop out. Swap your amber bulbs back into your housing, and the green I30 bulbs back into the I30 housing, and clip and screw everything back together.
I probably should've taken pictures of the whole process, but we only got access to a camera after most of everything was done, and I wasn't about to take everything back apart, sorry lol.

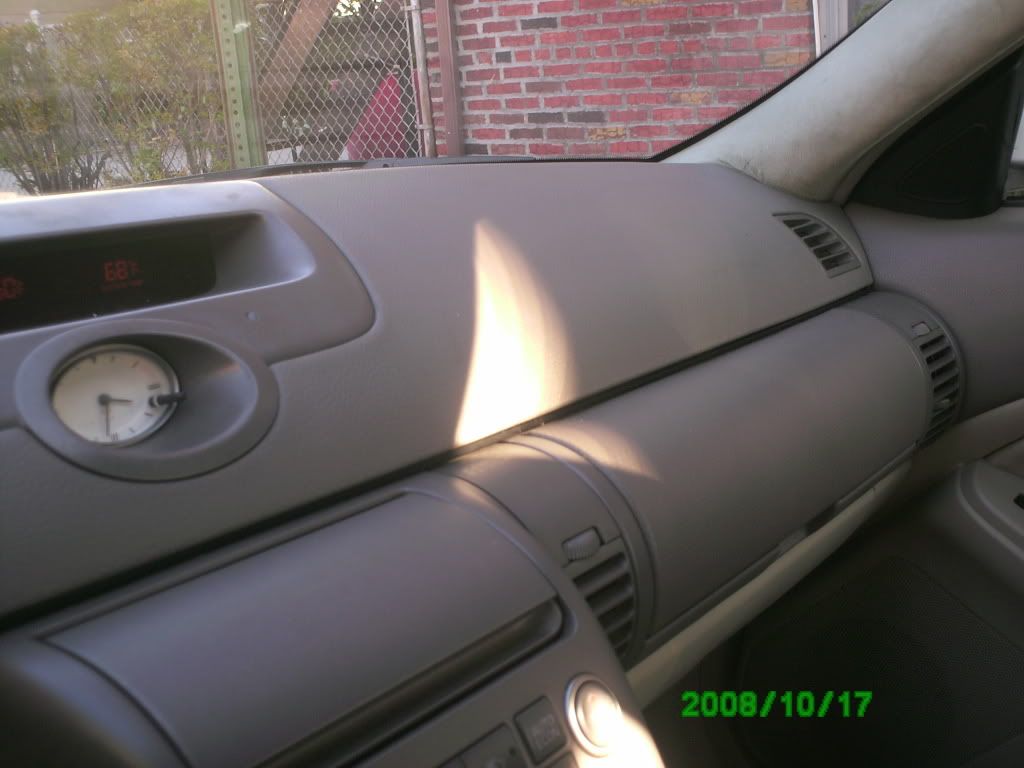

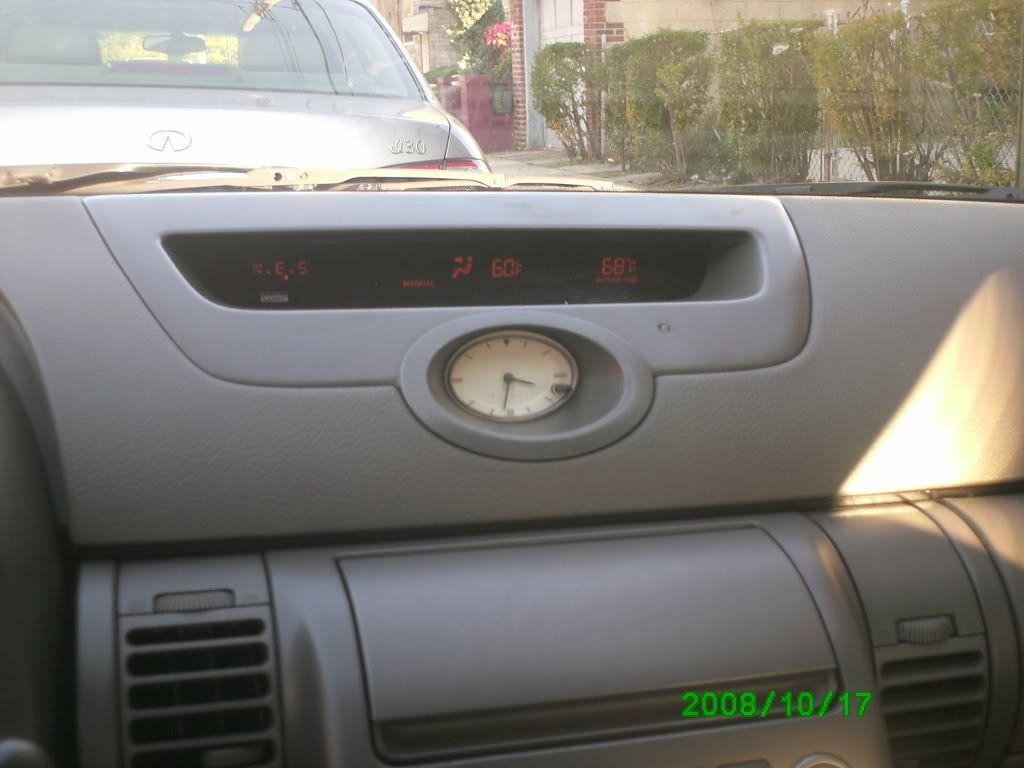
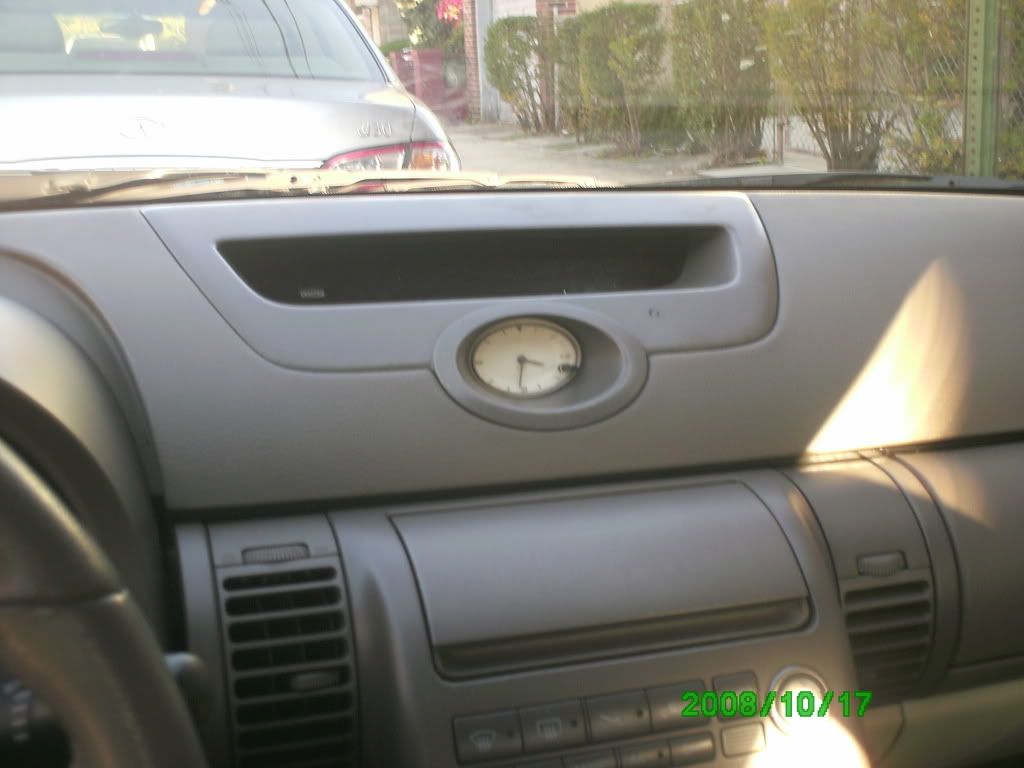
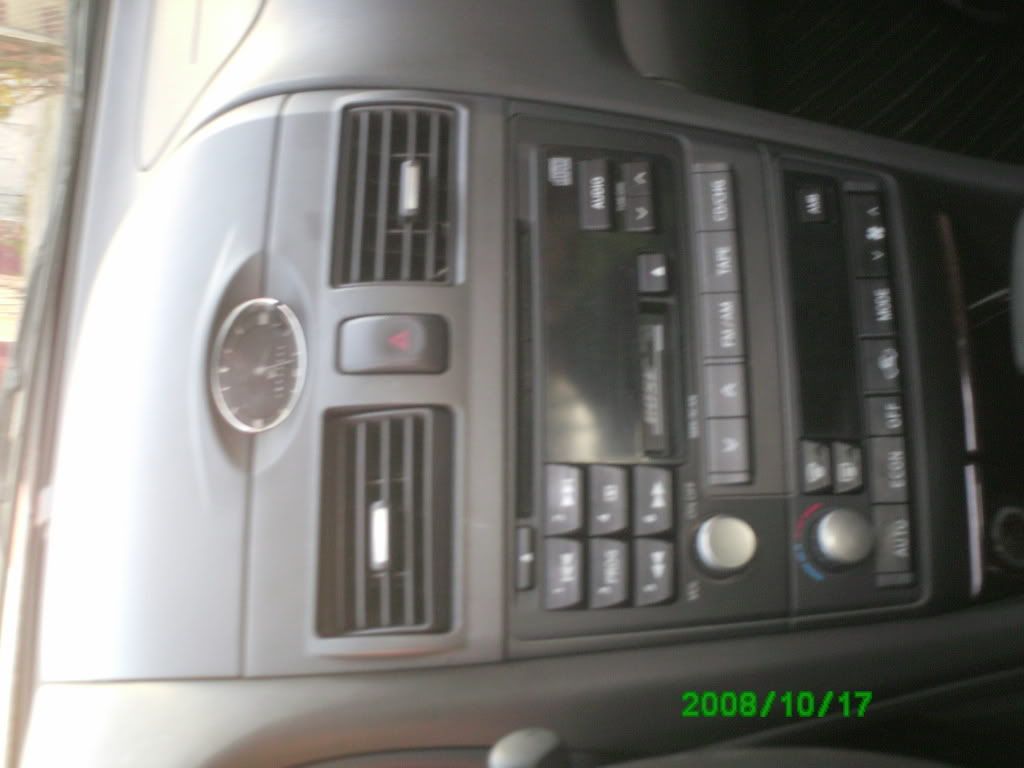
2001 Infiniti I30 Pictures:
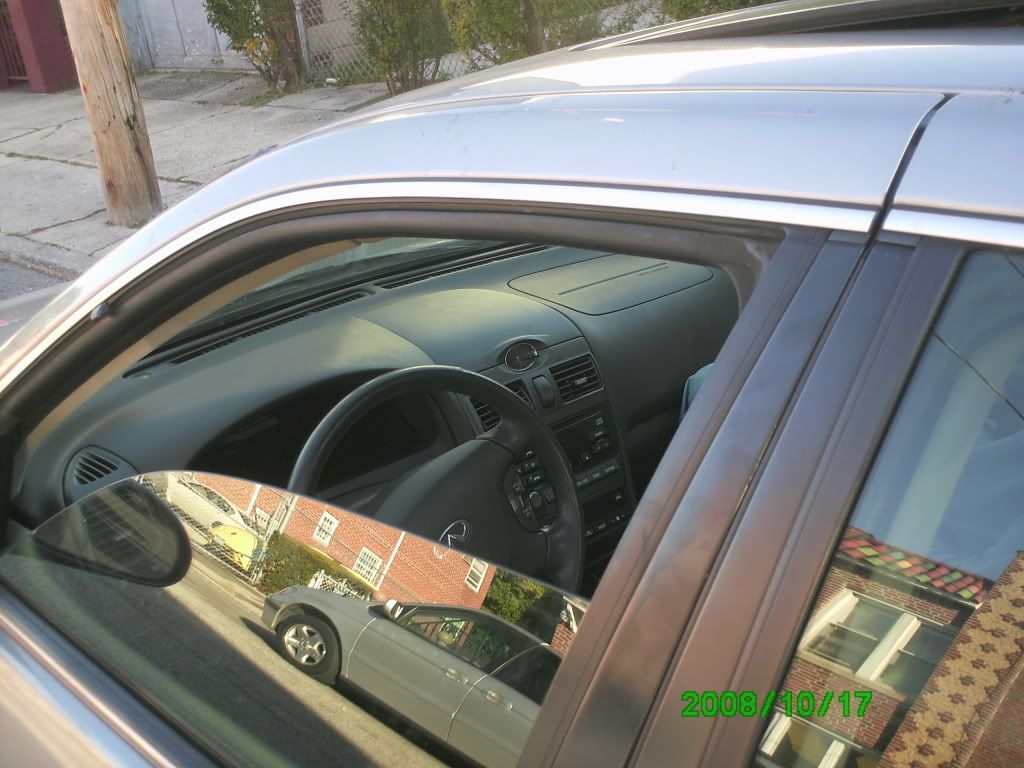
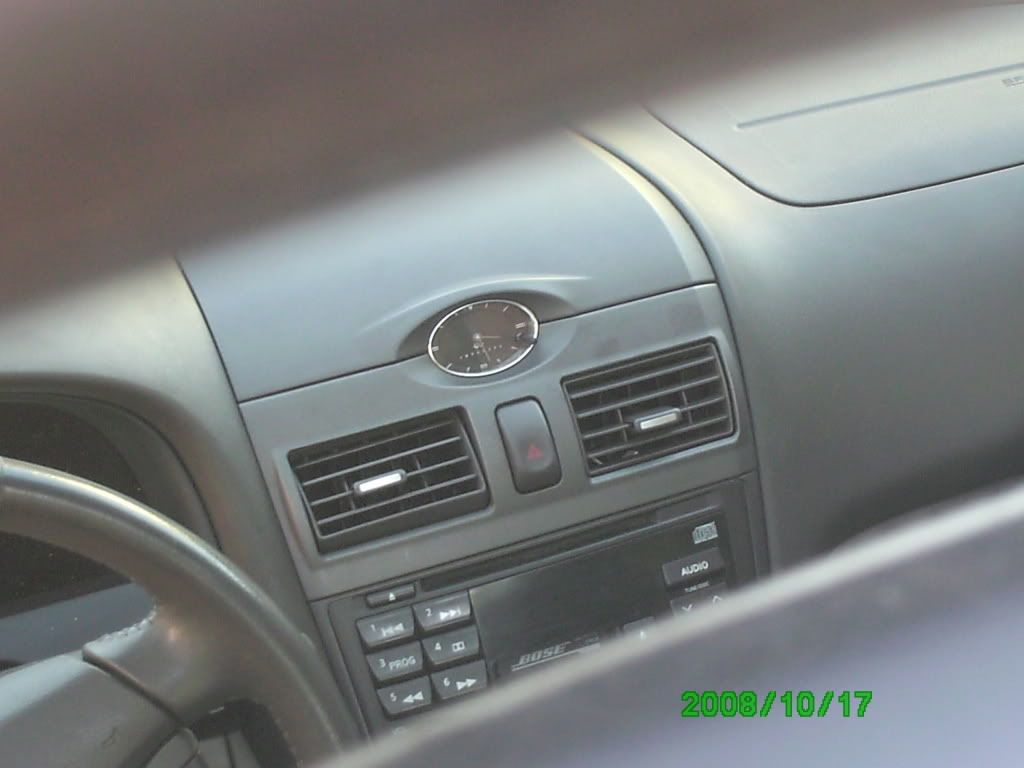
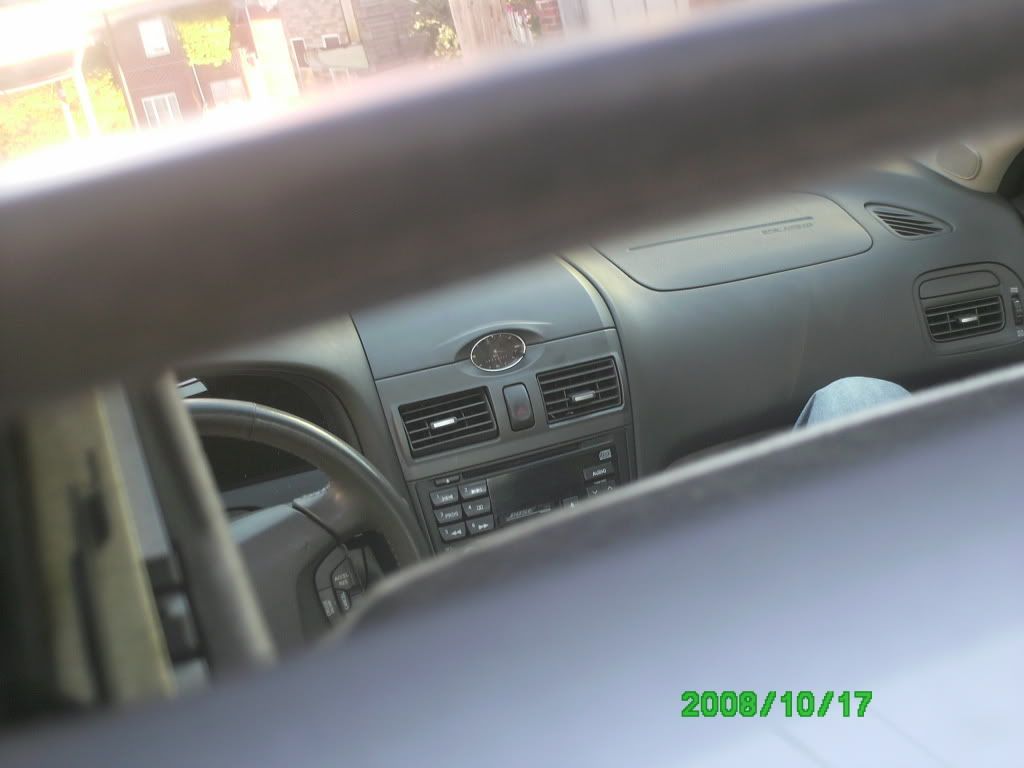
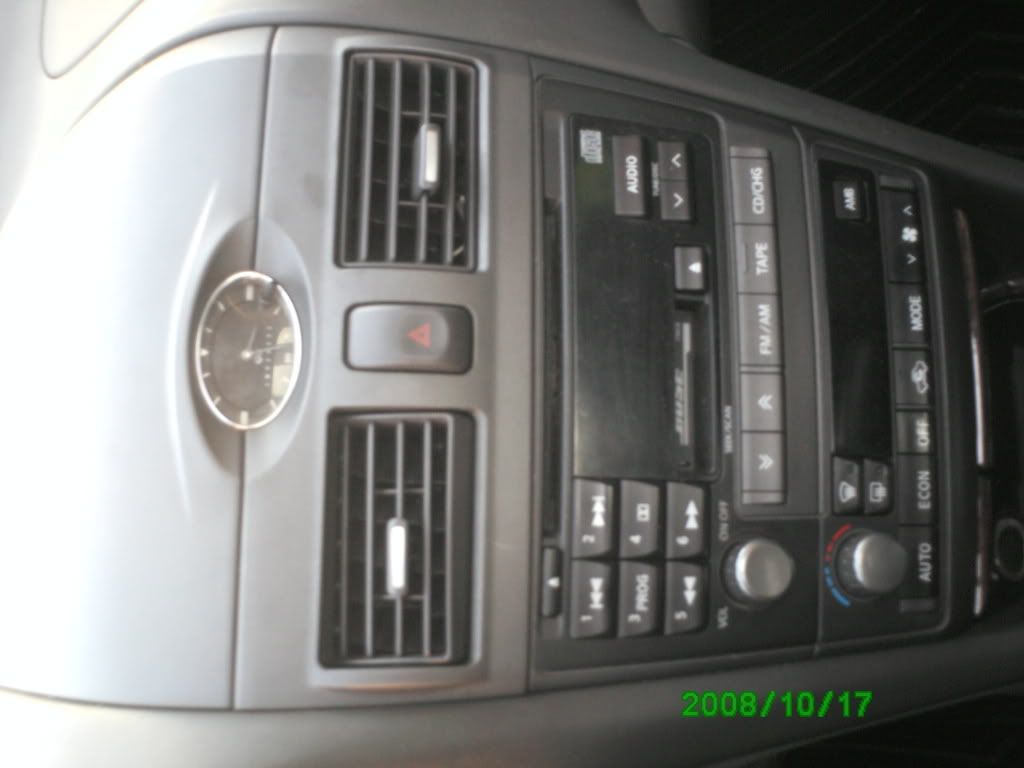
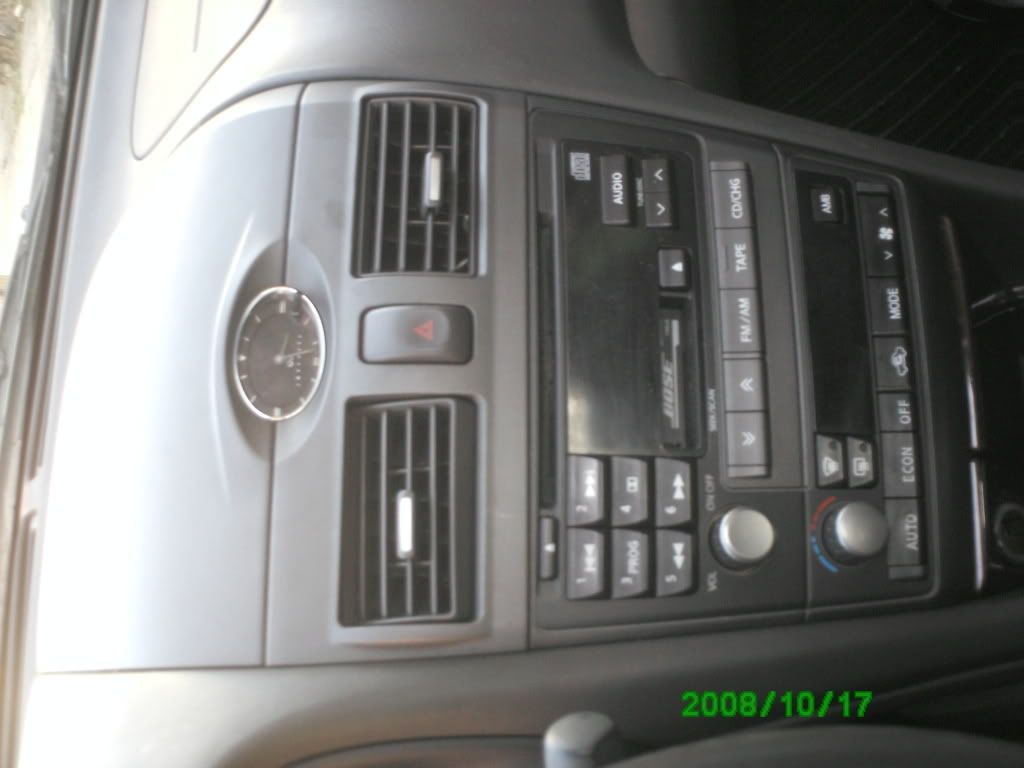
The switch itself is pretty simple, and I know I have seen a DIY somewhere so if anyone finds the link to it, post it up in here and Ill add it to this OP. Otherwise the G's clock is easy to get access to, simply take the gray trim piece surrounding the climate display and clock and pull it towards you. It might not feel like its coming out too easily but don't be too worried with it. Mine needed 2 sets of hands to come out.
The I30's interior involves pulling out the upper vents underneath the clock, which gives you access to 2 screws holding down the cover/upper trim piece. There are 2 clips at the very back of the trim piece you will need to clear before you get full access to the clock which is mounted to the trim piece itself.
The clock face swap is fairly simple as well. Both clocks look exactly the same, so just unscrew the 4 screws holding the clocks front trim piece, and the 2 screws on the back holding the control board and clock to the back cover. Swap the interiors, and re-screw all 6 screws. Make sure to note that the 2 rear screws are longer than the front 4.
The bulbs in the I30 light up green, so turn your clocks over now and you should see 2 gray or black circles with X's in the middle. Simply turn these with a screwdriver and your bulbs will pop out. Swap your amber bulbs back into your housing, and the green I30 bulbs back into the I30 housing, and clip and screw everything back together.
I probably should've taken pictures of the whole process, but we only got access to a camera after most of everything was done, and I wasn't about to take everything back apart, sorry lol.
2001 Infiniti I30 Pictures:

Registered User
Joined: Feb 2003
Posts: 43
Likes: 0
From: NJ
I bought a set of the "30% brighter than regular Neo - Wedge LED Instrument Panel Bulbs." They are near the bottom of the page and are $3.49 instead of $2.99. Has anyone else tried these? http://autolumination.com/74.htm

Had a little problem, that they would not screw into the clock fully in the locked position. So I had to shave a little of the plastic by the locking dimple of the wedge with a box cutter. Otherwise installed with no problems.

well, i found out that one of the bulbs i put in, wasnt installed ALL the way...i fixed it, and wall-la, it looks good. (not super bright)..kind of dim, but it still stands out a loooottttt from the dash...because it's "super-white"..


Registered User
Joined: May 2008
Posts: 19
Likes: 0
For all those in Houston, go to the following place, each 12v bulb cost $0.35, so Infiniti has about 4500% markup on their bulbs. If you want a socket/base too, it works out to be $.50 per bulb. Still about 3000% markup.
Electronic Parts Outlet
3753-B Fondren Rd.
Houston, Tx 77063
(713) 784-0140
Also, you don't have to remove the four small screws on the front of the clock to do this replacement.
Electronic Parts Outlet
3753-B Fondren Rd.
Houston, Tx 77063
(713) 784-0140
Also, you don't have to remove the four small screws on the front of the clock to do this replacement.

Registered User
Joined: Jun 2009
Posts: 1
Likes: 0
I went to Honda told them I needed two Bulps for a 2000 Acoord sedan and when I gOT home they were alot smaller than Infiniti.. so apparently they will not work on our infiniti clocks..

Registered User
iTrader: (2)
Joined: Jun 2006
Posts: 972
Likes: 21
From: 916/847/650/415/408/510/512/406
Does anyone have a night pic of the Autoillumination Amber Neowedge for $2.99 & the $3.49 which is %30 brighter. I've read some comments where $2.99 wasn't bright enough and the $3.49 was too bright. So, not quite sure now which one to get without seeing a pic of the bulbs in action. Thanks!

Here is a quick vid of my white "30% brighter than regular" bulbs. I'm very happy with them. *Note - the bulbs look a lot more blue in the vid for some reason. In person they are white with just a blue hue.
<object width="425" height="344"><param name="movie" value="http://www.youtube.com/v/FKMilPe2bzE&hl=en&fs=1&"></param><param name="allowFullScreen" value="true"></param><param name="allowscriptaccess" value="always"></param><embed src="http://www.youtube.com/v/FKMilPe2bzE&hl=en&fs=1&" type="application/x-shockwave-flash" allowscriptaccess="always" allowfullscreen="true" width="425" height="344"></embed></object>
<object width="425" height="344"><param name="movie" value="http://www.youtube.com/v/FKMilPe2bzE&hl=en&fs=1&"></param><param name="allowFullScreen" value="true"></param><param name="allowscriptaccess" value="always"></param><embed src="http://www.youtube.com/v/FKMilPe2bzE&hl=en&fs=1&" type="application/x-shockwave-flash" allowscriptaccess="always" allowfullscreen="true" width="425" height="344"></embed></object>
^^ mine are like that too Chris! Mine are more blue when I take pictures than in person, but I'm so happy with at least just having light in mine  they're white, not blue in person.
they're white, not blue in person.
Registered User
iTrader: (2)
Joined: Jun 2006
Posts: 972
Likes: 21
From: 916/847/650/415/408/510/512/406
Thank's for the Vid chris12. That's looks pretty good actually. I hope to see vids or pics of members with the Amber from Autoillumination as mentioned one being not too bright $2.99 and one too bright $3.49. Hopefully they will post up soon.

My clock light has been out for the last 3 months and i havent really missed it. i still ordered the neo-wedge today for looks. ill post some pics when i get them installed.
Installed them today. They look blue in pictures but are more white in person.
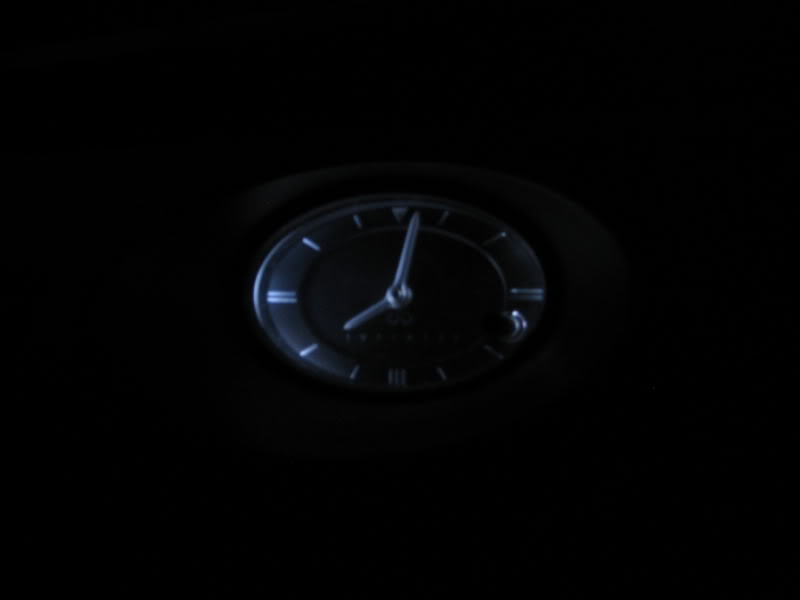
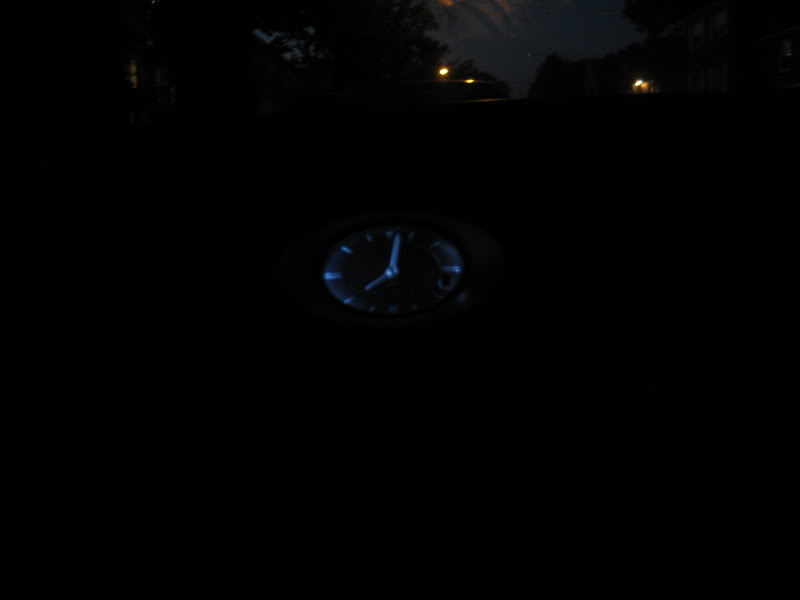
Installed them today. They look blue in pictures but are more white in person.
Last edited by WhosRich; Aug 25, 2009 at 08:25 PM.