
DIY - Painting Your Headlights


Depends on what kinda paint you use. You could probably do it with 2 primer and 2 top coat. One for each headlight. But like I said, some paints are going to go on thicker and coat better than others.
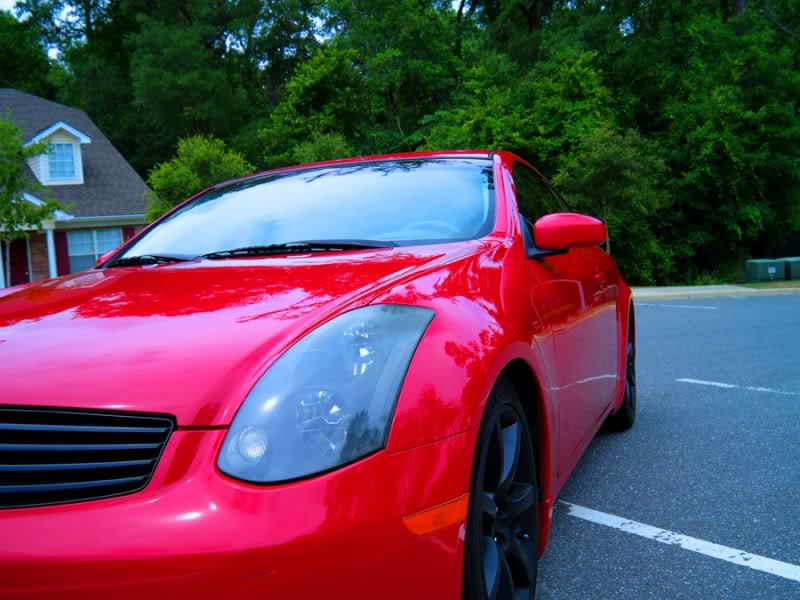
Do the grille first if you're painting both and are new to painting. More room for error and worst case, you can put it back on and drive until you can re-do it properly. Not so with the headlights. Not that I think you'll have any problems, but there is a learning curve. And if I can pass on one suggestion, it's that less is better than more. It's better to underspray and have to do more layers than overspray.
And I definitely recommend one of these. $6.29 at Home Depot.
http://www.rustoleum.com/CBGProduct.asp?pid=38
Last edited by BuckeyeInMI; Aug 11, 2009 at 12:18 AM.
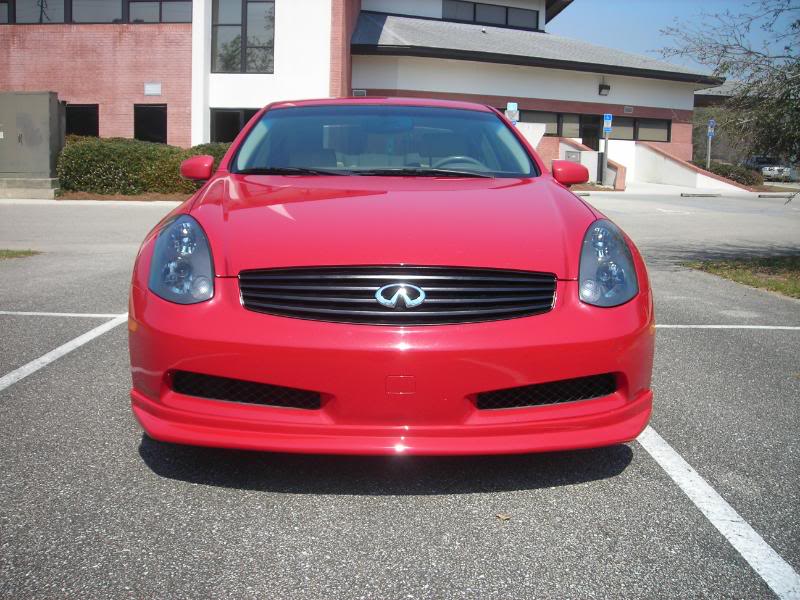
I didn't like my chrome amber bulbs. They weren't bright enough. I tried some LEDs in there too, and they might have been bright enough, but they weren't diffused enough. Ultimately, I ended up putting the stock ambers back into my clear corners. They show up very nicely with my blinker mod.

Joined: Jun 2003
Posts: 14,505
Likes: 451
From: NorCal
^Did you try PIAAs or Sylvania silverstars? I have the PIAA mirror orange bulbs that are a silver mirror finish and they are just as bright as OEM if not more.
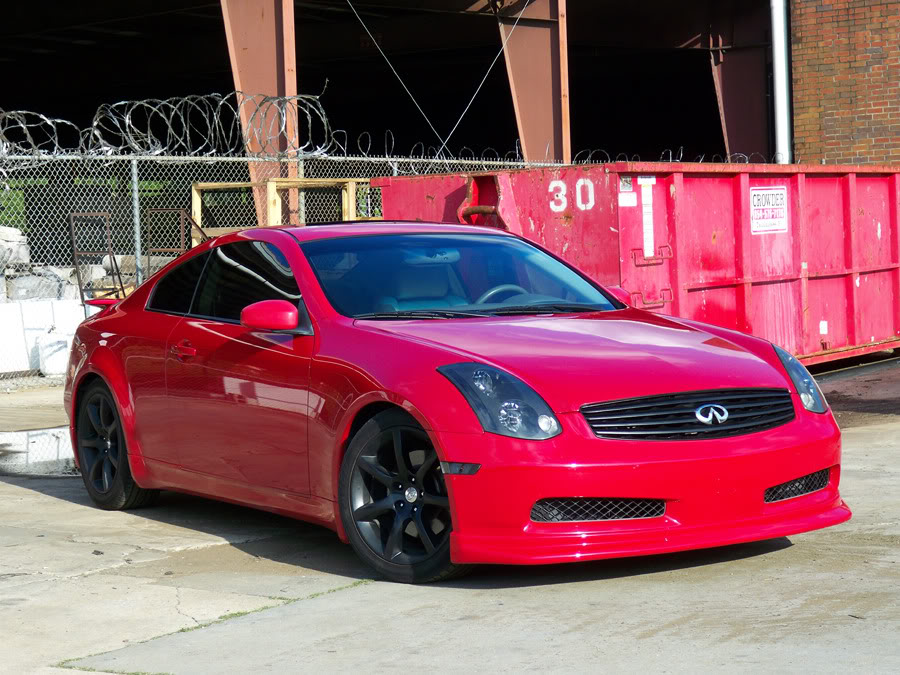
Nice work! Thanks for posting. I think only 03-05 coupes have those brackets attached to the rears of the bezels. Sedans don't have those. That makes the work easier for the shaping of the clear turn signal lense.
Thanks
I've gotten good at doing the bezels and it typically takes me half a can of each the primer and finish coat to complete both bezels. As already mentioned, just apply thin coats each time.
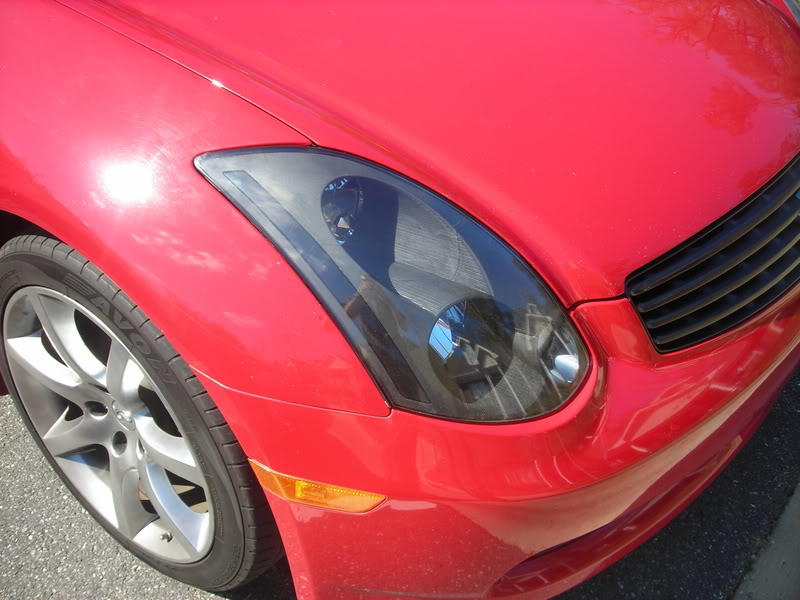
Personally what I did with the signal lenses was, I dremeled out the existing amber sections, and then I cut out circular pieces from a sheet of fluorescent lighting cover (the stuff that's textured which covers the fixture). I then epoxied those clear pieces into the little black piece on the inside that's right behind the original lens. I don't know if I have pictures of them.... I think I do hold on.
Here: Then I just screwed the black parts back int and viola you're done. It is indeed a pain in the ass, but it's worth it to me.


Here: Then I just screwed the black parts back int and viola you're done. It is indeed a pain in the ass, but it's worth it to me.
Thanks
I've gotten good at doing the bezels and it typically takes me half a can of each the primer and finish coat to complete both bezels. As already mentioned, just apply thin coats each time.
Joined: Jun 2003
Posts: 14,505
Likes: 451
From: NorCal
Nice! That would look really good if you did orange lights in there. Giving you the non amber look parked and still functional to not get hastled from the police  . Hey papa, do you have any tips on wiring the CCFL clearance strips? I got mine today but they're arent any instructions. I'm gonna attempt the setup in the next week or 2. Hard with a daily driver and working almost everyday
. Hey papa, do you have any tips on wiring the CCFL clearance strips? I got mine today but they're arent any instructions. I'm gonna attempt the setup in the next week or 2. Hard with a daily driver and working almost everyday 


Registered User
Joined: Sep 2009
Posts: 273
Likes: 0
From: Hunterdon NJ
HEELLLPPPPP! PlsPls PLEASE HELP ME. lol So The dumby that installed my r33 grill had to use a bunch of set screws to keep the grill looking pretty, (which means yup i just dropped the bumper...So anyway I'm in the middle of doing this when i realize i have no clue on disconnection the headlights from they're harness. I'm all masked up and ready to go otherwise...
Registered User
Joined: Sep 2009
Posts: 273
Likes: 0
From: Hunterdon NJ
So I finished all that on my 05 black on black. um on black. They have a little pearlesence in them but look black from anymore that 6 feet. little worried about the moister thing but time will tell. Alls said and done 3 burns on left arm from oven and mo d.side corner isn't working, probably a broken fillement, at one or two points i wanted to jump on the hoodd with a hammer and beat the crap out of her, but that made me feel bad so i took a could adivan and waited for them to kick in, smooth sailing from there on with a little help from a friend. Now to put on the black Axis Halo's, some window tint and I'll have my stealth G...Thanks for the DIY, These type of mods are always the ones i'm most proud of.