When you click on links to various merchants on this site and make a purchase, this can result in this site earning a commission. Affiliate programs and affiliations include, but are not limited to, the eBay Partner Network.
no the tag is not lighted. it passes muster, since a HP officer followed me 1/2 way to work tonight.
on the alignment note, I readjusted the rear toe again. I got under the back of the car right at the edge of my driveway and loosened one eccentric at a time. I turned them and watched the toe in/out movement of the wheel. there is a dwell point where it switches from toed in to toed out. I'm shooting for zero toe, so I centered it on the dwell point and on the way to work tonight it felt more stable, but I think its time to move to the front and address that caster issue, I also ordered a new pair of rear tires this morning too.
Been a while since I posted any updates but the car is on jackstands again.
I bought a set of rotors and pads, and 2 new rear wheel bearings. The rotors have never been replaced I think, and the car is now at 130k. The passenger rear wheel bearing is shot and has been for a while now I'm pretty sure.
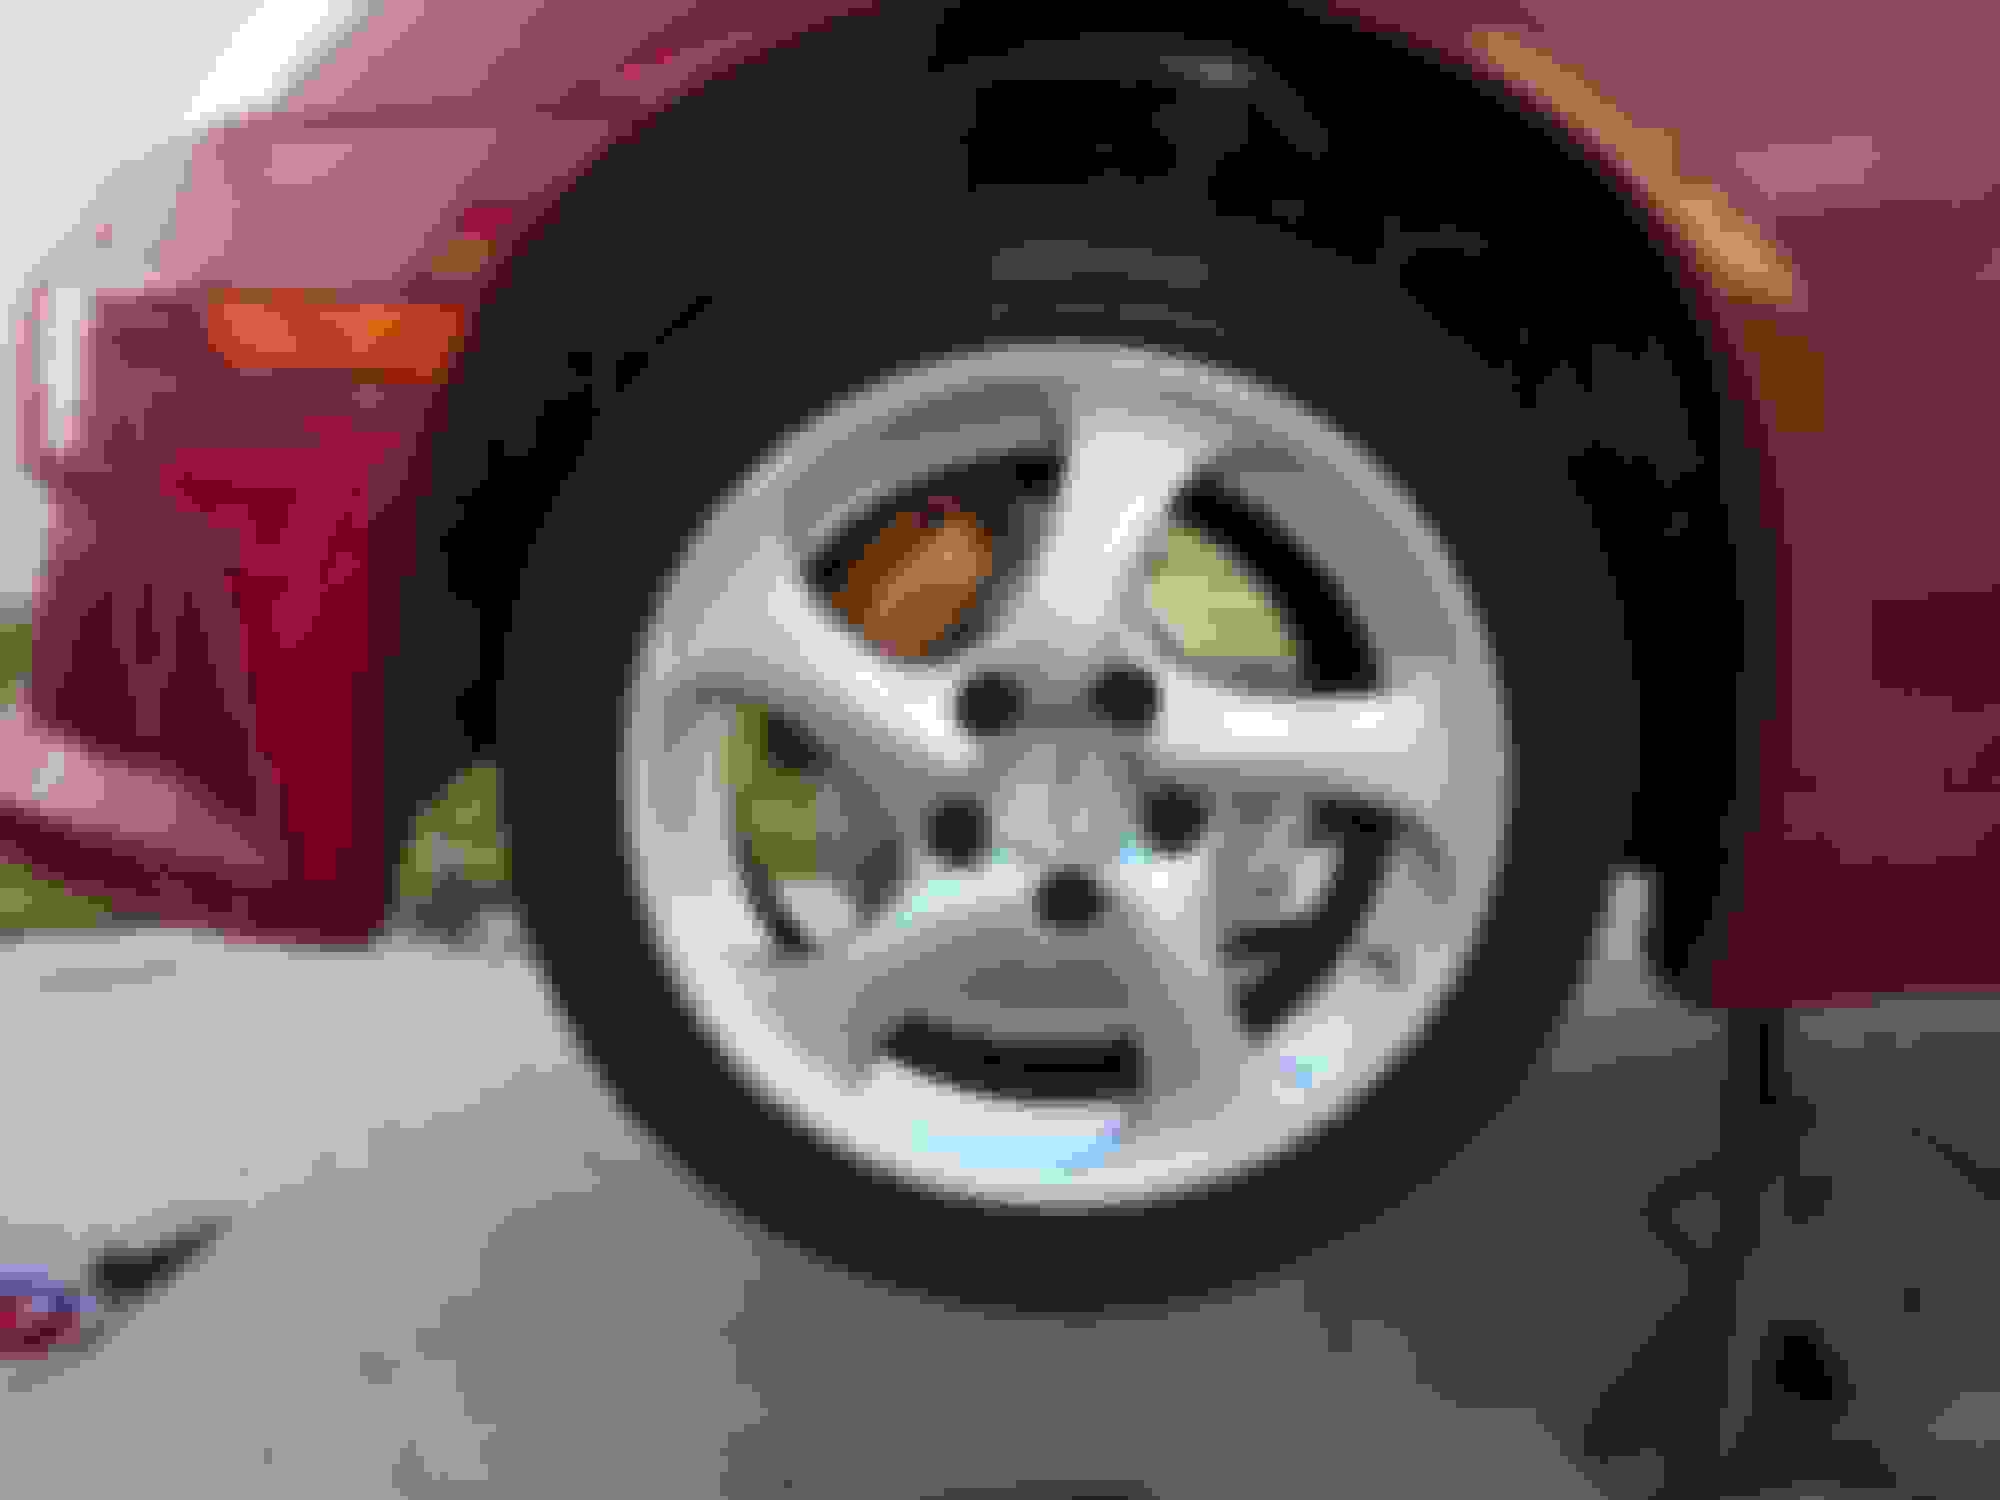
Wouldn't you know it, the first bolt I'm trying to loosen on the Brembo caliper snaps in half and is stuck in the caliper. I end up working the entire rest of the afternoon on that one caliper to drill out the broken bolt and re-tap the hole. Wouldn't you know it, as soon as I get it finished and knock the wheel bearing off the car, it starts to pour rain.
No work today (Sunday) with church and Mothers Day, so the plan is to pull the driver rear brakes and bearing out tomorrow, hopefully without breaking anything else. While I have the axles dropped I'm going to drop the diff and pop the Whiteline diff bushings in that have been sitting on the tool box for months now. Then I've already locked in using the neighbor's press to install the hubs in the new bearings and hopefully rolling in the G again by Wednesday.
Always something in this car kicking me in the nutz... at least I haven't broken my hand again. Yet
Today I finished pulling the rear end of the car apart. The driver side rear actually came apart with no problem. I'm pretty sure the heat build up from the bad bearing on the passenger rear is the reason the bolt seized and snapped. Anyway, I also dropped the diff out so tomorrow I can replace the diff bushings and get it all back together...finally.
looking forward to driving it again, once again with all new parts..by the weekend. At this rate, the car will be all new soon
Good Lord this car is a PITA. Swung a 3# hammer for over an hour to extract the old bushings in the diff, and that is after the hr(s) getting the busted one out of the subframe...with a torch, a sawzall and the hammer. But finally got the Whiteline ones in. Here is a tip..pop the urethane bushings in the freezer for a while and they slip right in.
Finally finished the car yesterday (Saturday) afternoon, except the seller sent me the wrong front rotors.. the car works well now and feels very tight. While it was up in the air I bled the clutch too and took out some sponginess I had before.
The car works great now...no more wobble from the horrible rear wheel bearing. I still need to work on a plan for the front caster to get it back in line. Still feels like it wants to wander a bit at hwy speed.
Next upgrade/repair will probably be a driveshaft.. The bearings are pretty chunky in mine. Then I need a clutch... then......
Okay.. finally got the car fully back together and road ready after this latest round of upgrades.
1. Powerstop drilled rotors and ceramic pads.. will replace pads later for track days etc.. but at $186. shipped for all.. I had to do it
2. Both new rear wheel bearings
3. Whiteline differential bushings.
I like her again.
So just to prove it, the other day while the front end was up in the air with the wheels off, I pulled the lower bumper grilles and match painted them to the exhaust grille and the upper front grille. Gunmetal gray.
Also matched the paint on Mt Fuji and put it back on the trunk.
Many updates needed/planned to come over the summer.. driveshaft, clutch/LFW are top of the heap, then a new gear set..just a few more steps toward completing the GT35RS project.
the horrible paint condition is on the verge of just becoming "patina"..lol
Glad you went with white line. If you haven't driven the car yet, the shutter will be gone when shifting and getting going feels like you have so much more power!!!
Yes I've been driving it for a week now. The car feels so much tighter now. The slop in the driveline was pretty bad before.
I still need to work on the caster adjustment plan I have. Still off from what it used to be before I replaced the front end parts and broke that stud.
While I was under the back end I remembered that I need to update some things on the exhaust, and I found out that the driver side test pipe is loose on the inside. I really want a set of ART pipes. I'd love to find a used set. I think with the ART pipes that I would finally be satisfied with the exotic themed exhaust tone.
I'm going to try out running a vent on the catch can and see if the fumes are too bad or not. Right now it runs back to the intake and I think it's too much suction and being pulled back into the throttle body.
I'm going to slot the lower brace further to get more adjustment from the stud thru the compression bushing. Just need to find the right alignment shop that will let me tweak it.
Great thread. Kudos on getting the old girl back together.
I am actually working on my car last few weeks after it set for 2 yrs. and i feel your pain. Everything i touch is either broken or breaks or needs replacing. Almost made me cry the other day as i was soo frustrated as nothing is going right with getting her back on the road.
My next big thing to do on her is the diff bushing. Did you go with the whiteline rear bushing kit? if so, how did you manage to get the old one from the frame out? Also, did you replace the bushing on the dif itself?
You replace the subframe bushing that the diff bolts to.
You have to cut it out. It really sucks. I dropped the subframe using the my350z.com method. Saws-all made quickish work of the old bushing. You want to cut it on the sides, as there is a plastic bit on the top and bottom of the old bushing. I sawed around the metal. Reused that with the newly modified Energy suspension bushing.
The diff ear bushings get replaced with new ones.
White line and the NEW energy bushing kit are both great.
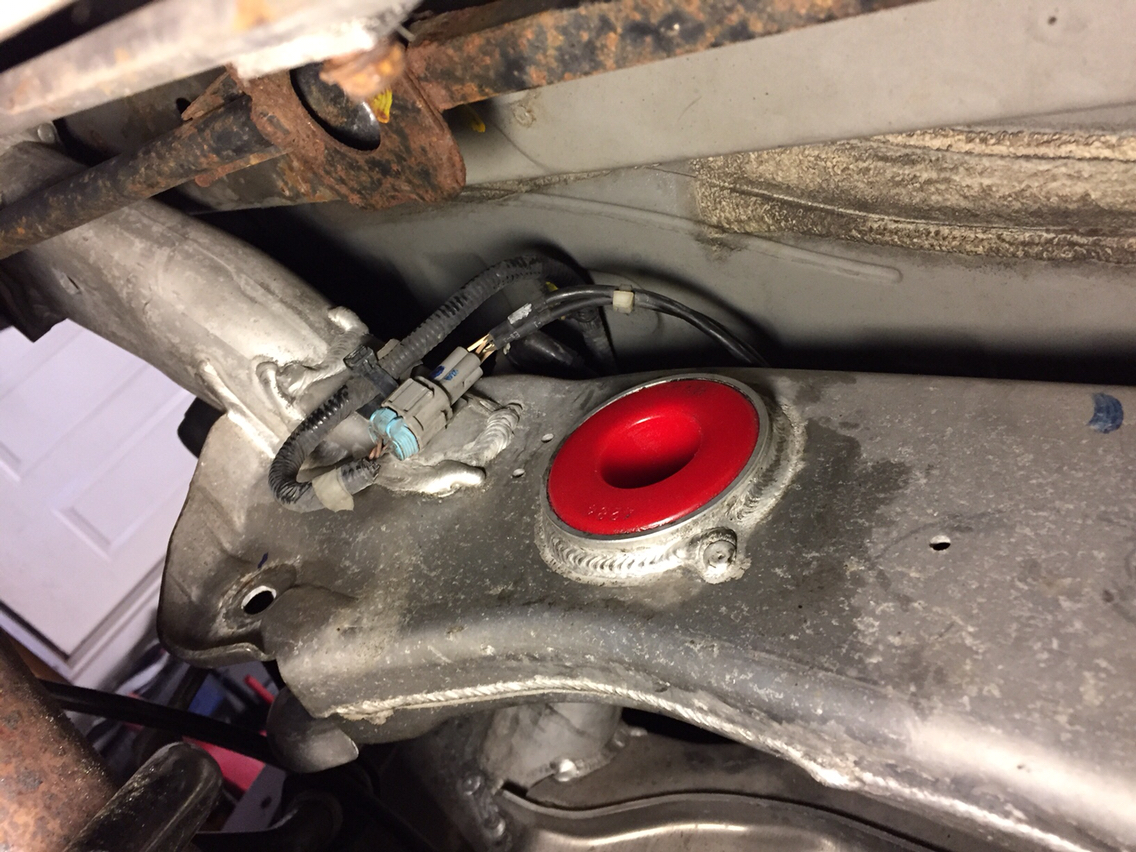
Some much overdue pictures that help explain things.
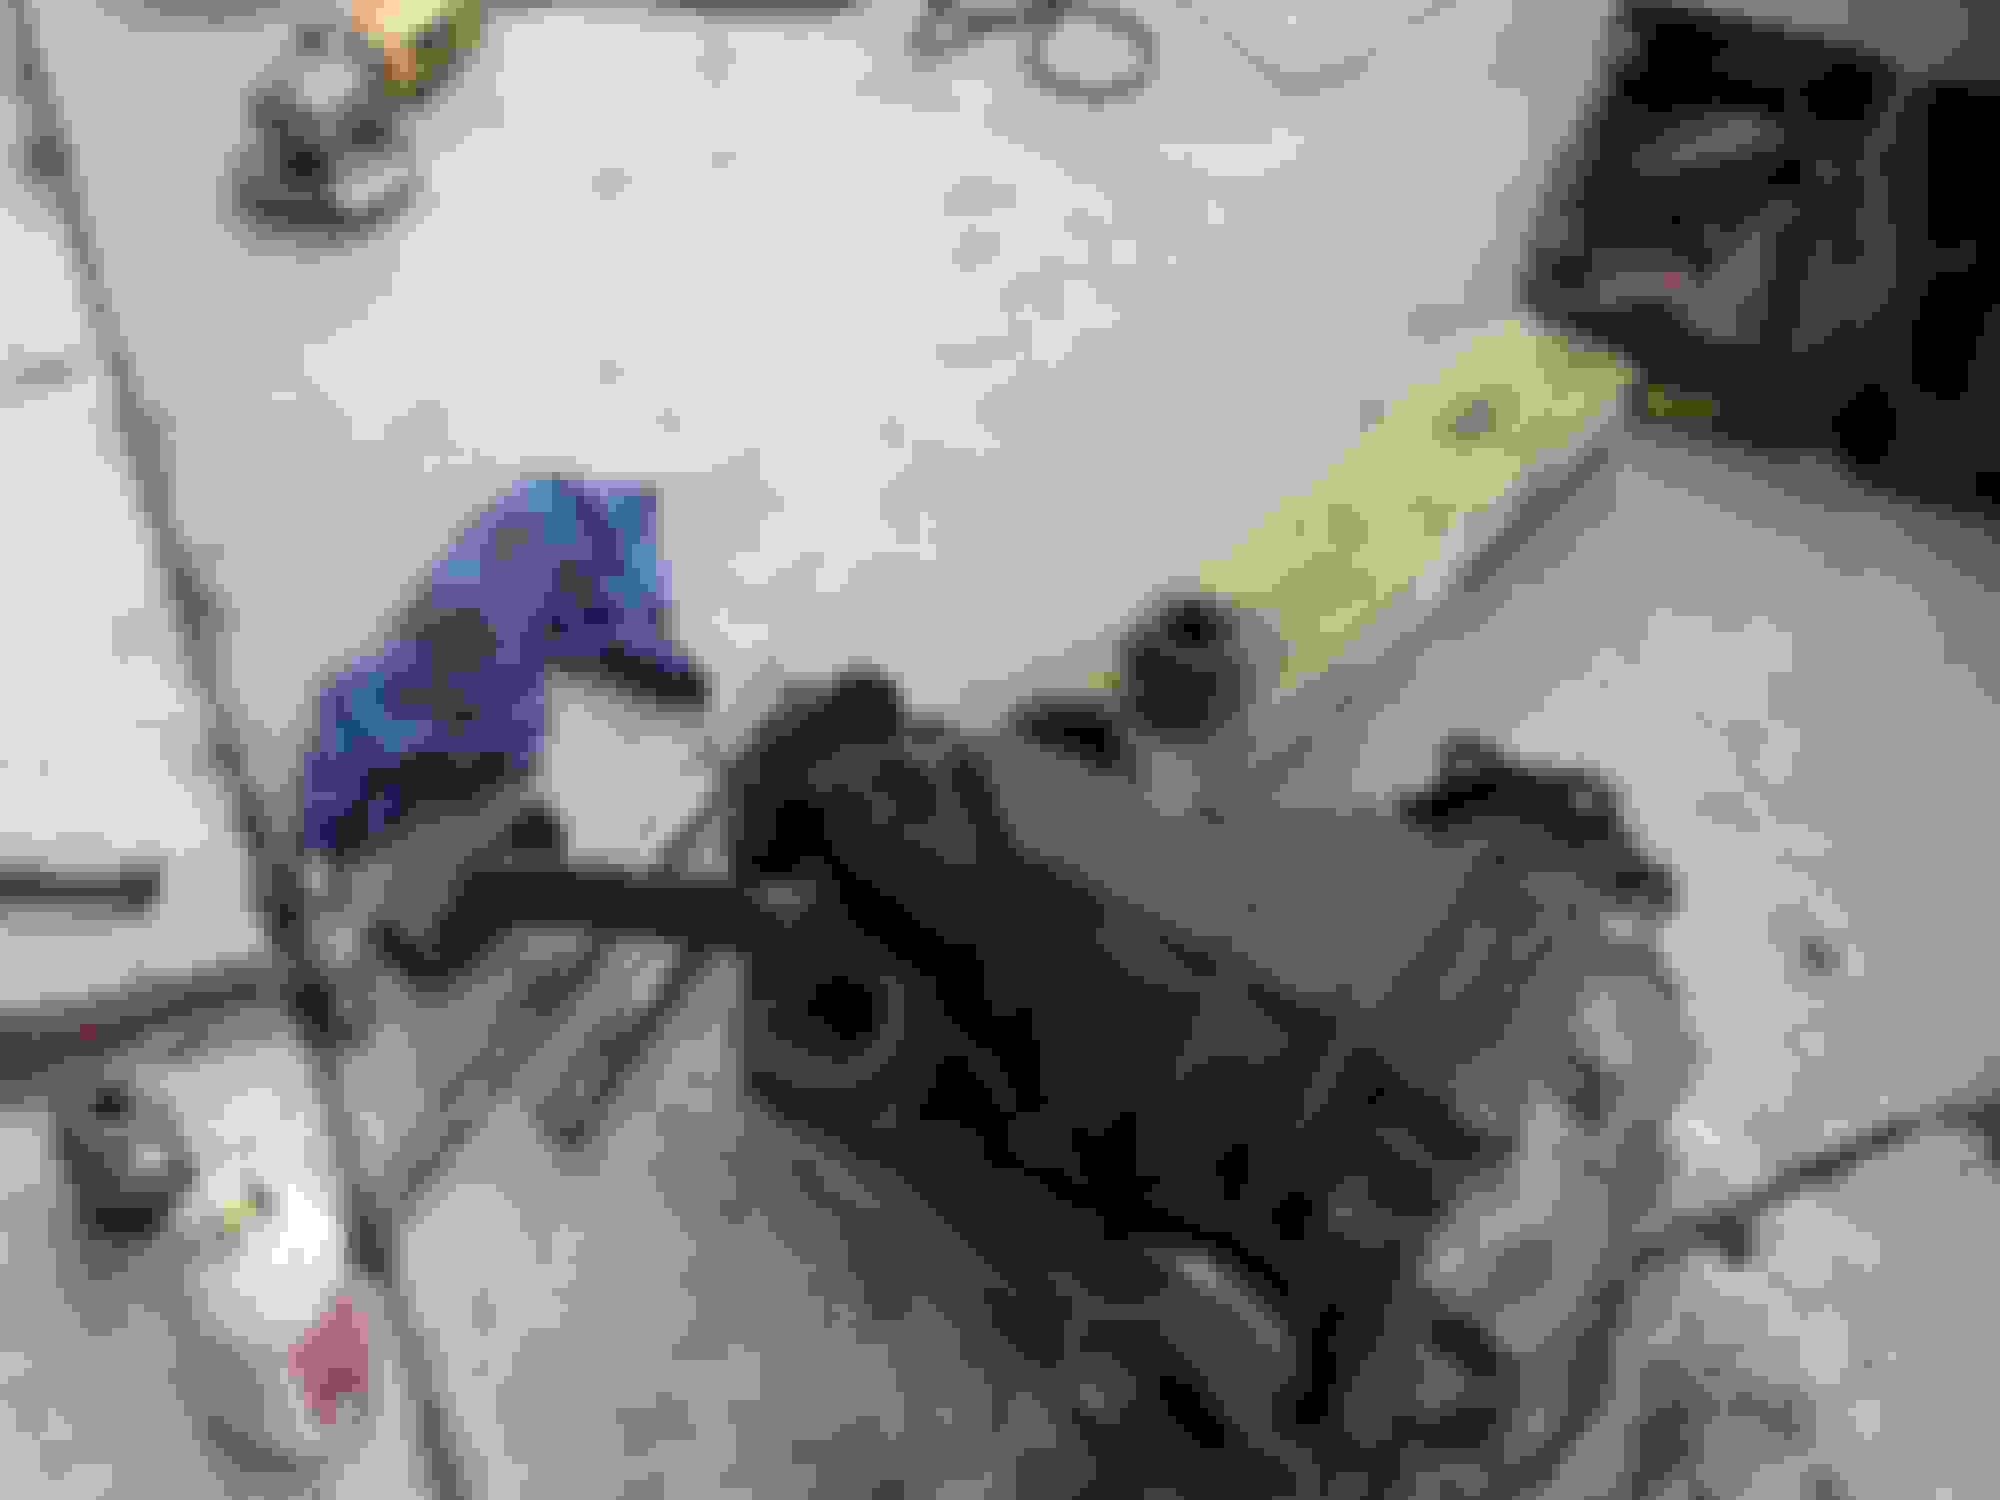
Broken bolt on the Brembo. Alot of work to figure out how to fix this, the bolt actually broke twice. Ended up drilling and tapping the threads.
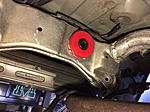
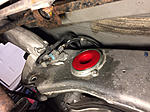
Several hours of burning and beating the bushings out of the differential. I first burned the subframe bushing and then cut the sleeve in 2 places. Then it was a good few minutes with a 3# hammer and chisel there too. I did not drop the subframe.
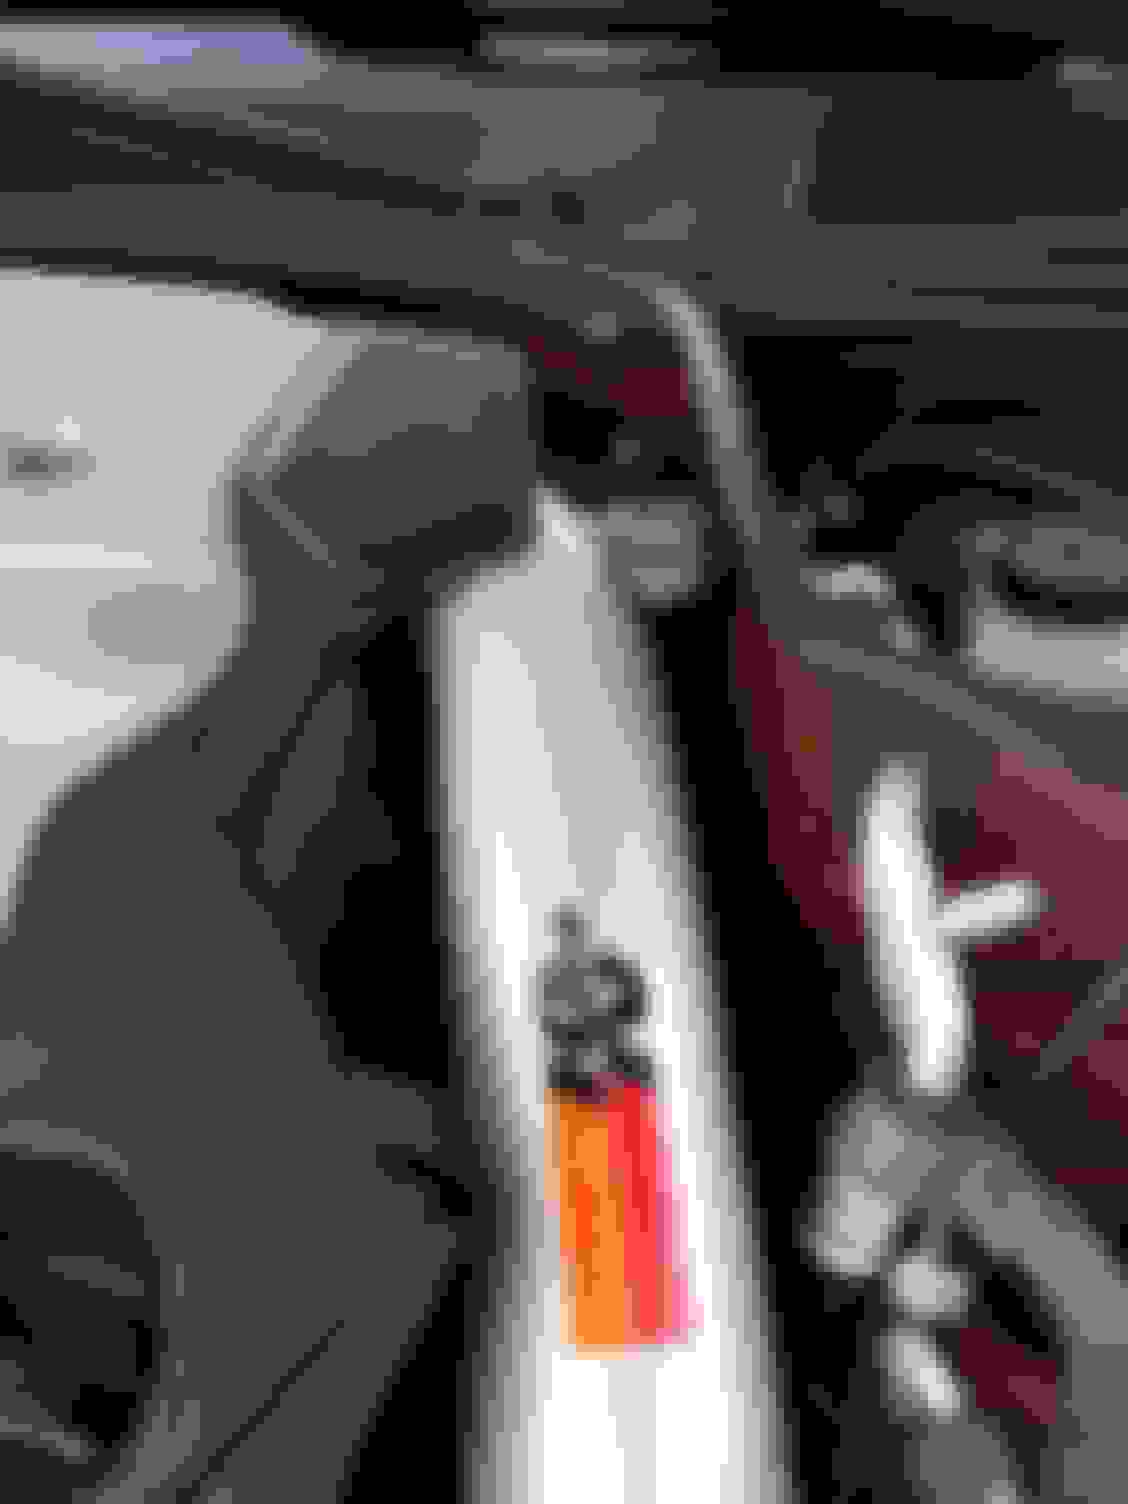
Used a surgical drain bulb to pull 550ml of nasty combustion vapor water out of the catch can without need to remove it and drain.
Ran the catch can vent to atmosphere instead of suctioning back into the intake.
Just the cutest little K&N.. it was a key chain I had.
So it seems that its always something with this car. The engine is smoking at stop lights and especially under decel when down shifting.
I'm going to have to pick up a leakdown tester and figure out what is worn out now. I'm thinking valveseals, but it seems to be a good bit of smoke/oil burning. Maybe rings.. geez.. didn't want to go into a rebuild this quick.
the wife will not be happy about this one.. and I'm getting tired. Real tired.
I had plans for a rebuild, but much later.. cams, high CR pistons..etc. If necessary, I may pick up another motor to just do a weekend drop in and keep my engine for building later. That would mean that I would have (3) engines and (3) transmissions in my one car garage. Wife will not be happy..no..no..
So I did some work on it yesterday. Turns out that the oil burning under the hood was coming from the valve cover leaking onto the header on the passenger side. When I first got the car and replaced the valve cover gaskets one of the bolts stripped out and I replaced it with a longer bolt and nut because it was the front corner one and I could. They worked loose and the gasket wasn't clamped down. The #1 spark plug well filled up with oil as a result. I cleaned it all out, checked #3 also and cleaned it out too. I installed a new washer/rubber bushing onto the valve cover bolt and hoped for the best.
It didn't work. Driving home from work this morning the same smoke under the hood and out of the exhaust. Still not sure why the exhaust is smoking as well. Also not sure why the crankcase is being pressurized. The oil cap had pressure built up as I opened it yesterday and this morning again. It is not the PCV valve as it is drilled out and run to the catch can, along with the driver side vent. The catch can is not run back to the intake anymore so there is not suction thru the can on the PCV system, but I was noticing smoke out of the exhaust before I changed that.
I'm just hoping it doesn't push seals out. .especially the rear main. And I need to figure out why this is happening.


 .
.