When you click on links to various merchants on this site and make a purchase, this can result in this site earning a commission. Affiliate programs and affiliations include, but are not limited to, the eBay Partner Network.
If it's going to be a track-only car I STRONGLY recommend just yanking the carpet, putting in battery kill-switch on the dash, stitch welding up all the unibody seams, paint the inside with chassis undercoating, protect the exposed wiring, and just going full racecar.
Carpet is significantly flammable so remove it, electricity is a major cause of fire so add the disconnect you can reach on the dash. Unibody factory welds take a hell of a beating in track conditions so stitch welding them up makes it last without falling apart and stiffens the chassis more.
Last edited by cleric670; Mar 23, 2019 at 09:09 AM.
Replaced almost every single front suspension component... LCA, ball joint, compression rod, upper ball joint, and wheel bearing, on both sides. Took way too much time, but the car drives so much better now. Have an alignment scheduled for Wednesday. Picture shows how bad the bushings were on the LCA, the rubber portion literally fell out of the arm.
Last edited by Conissah; Mar 26, 2019 at 09:50 AM.
^^^ So do you wish you had done that FIRST before doing exhaust, paint, wheels, etc etc and dailying the car for the time you did? Although wondering why you didn't go full poly especially for what's going to be a track car.
My bushings weren't half as blown when I swapped them all out for poly, and it really tightened up the steering at speed and made it feel like a scalpel in comparison. Especially after the alignment!
I was originally just going to do the bearings, upper ball joint, and then compression rods, but once I got under the car I realized how bad the LCA's were (and their subsequent ball joints) so I ran to the nearest auto parts store. I know that the car hasn't been like since I've had it. 4 years and 40k miles, of which 2 years and 20k miles were super stance boii with hella camber, which I am sure is what destroyed the bushings and ball joints. Once these bushings are shot, I'll upgrade the bushings rather than replacing the whole arm.
Ripped her up the coast and then took her to see the big trees. Can't really see how big it is, but the tree laid over in the background on the last photo is flippin massive! Walked along the top of it and counted out just over 110 steps!
Spent most of the day workin on my car. I replaced my front rotors since they were warped. Finally adjusted my negative camber on all 4 wheels. After doing that and staring at my car, I noticed my rear left tire had some serious toe-in. Im assuming something got bent when I spun out and hit the curb about a year ago. I went under there and inspected but I couldnt find anything. So that gave me a reason to install my SPC toe bolt that has been sitting in my car for over a year. So I got it in and the extra toe adjustment got my wheel lookin a lot straighter than before....almost perfect.
But regarding my SPC front camber arms, I realized something strange. On my right side, I had to max out the adjustment to get to 0�. But on the left side, I have the adjuster maxed out but its still givin me 2� of negative camber. All my busihings are new and everything is lookin good. Could it be that SPC has made one arm shorter than the other?? I cant think of anything else that would cause this. And no, I dont have the shims installed on my hub.
But regarding my SPC front camber arms, I realized something strange. On my right side, I had to max out the adjustment to get to 0�. But on the left side, I have the adjuster maxed out but its still givin me 2� of negative camber. All my busihings are new and everything is lookin good. Could it be that SPC has made one arm shorter than the other?? I cant think of anything else that would cause this. And no, I dont have the shims installed on my hub.
I had to install the shims to get proper adjustment on mine, and I'm only on Z springs.
I had to install the shims to get proper adjustment on mine, and I'm only on Z springs.
Which shims? Because installing the supplied shims would actually push the hub out further....adding more negative camber. Im trying to do the opposite.
Which shims? Because installing the supplied shims would actually push the hub out further....adding more negative camber. Im trying to do the opposite.
Your front is still at negative camber when with the arm slid all the way out, correct?
The supplied shims go on your hub and have a wedge shape, this will give you an instant 2deg of positive camber. Then if now you have positive camber, you can slide the arm back in to adjust to where you want to be.
Basically the shim should put neutral camber in the middle point of the arm, then you can adjust positive or negative from there.
Oh ok thanks! I didnt know the shims were shaped in a way to change the camber.
First post in here with my new '05 Coupe but I got quite a bit done over the last few days.
First up removing the two dents on the driver's side rear quarter panel that I couldn't stop looking at every time I walked out to drive it. Have a great paintless dent removal guy I used to use for my Z32s and he knocked these out in 10 minutes.
After
Next up was the second most annoying thing about the car, that damn driver's side seat bolster that's always torn due to that plastic piece underneath. Took it to a local upholstery shop, showed them the TSB on grinding the plastic edges and $150 later I'm back in business with a clean seat!
Last but not least were a few "go fast" mods. First up was the Motordyne Engineering 5/16" Plenum Spacer from Concept Z Performance (thanks Coz!). Stock pic since there wasn't much to photograph installed.
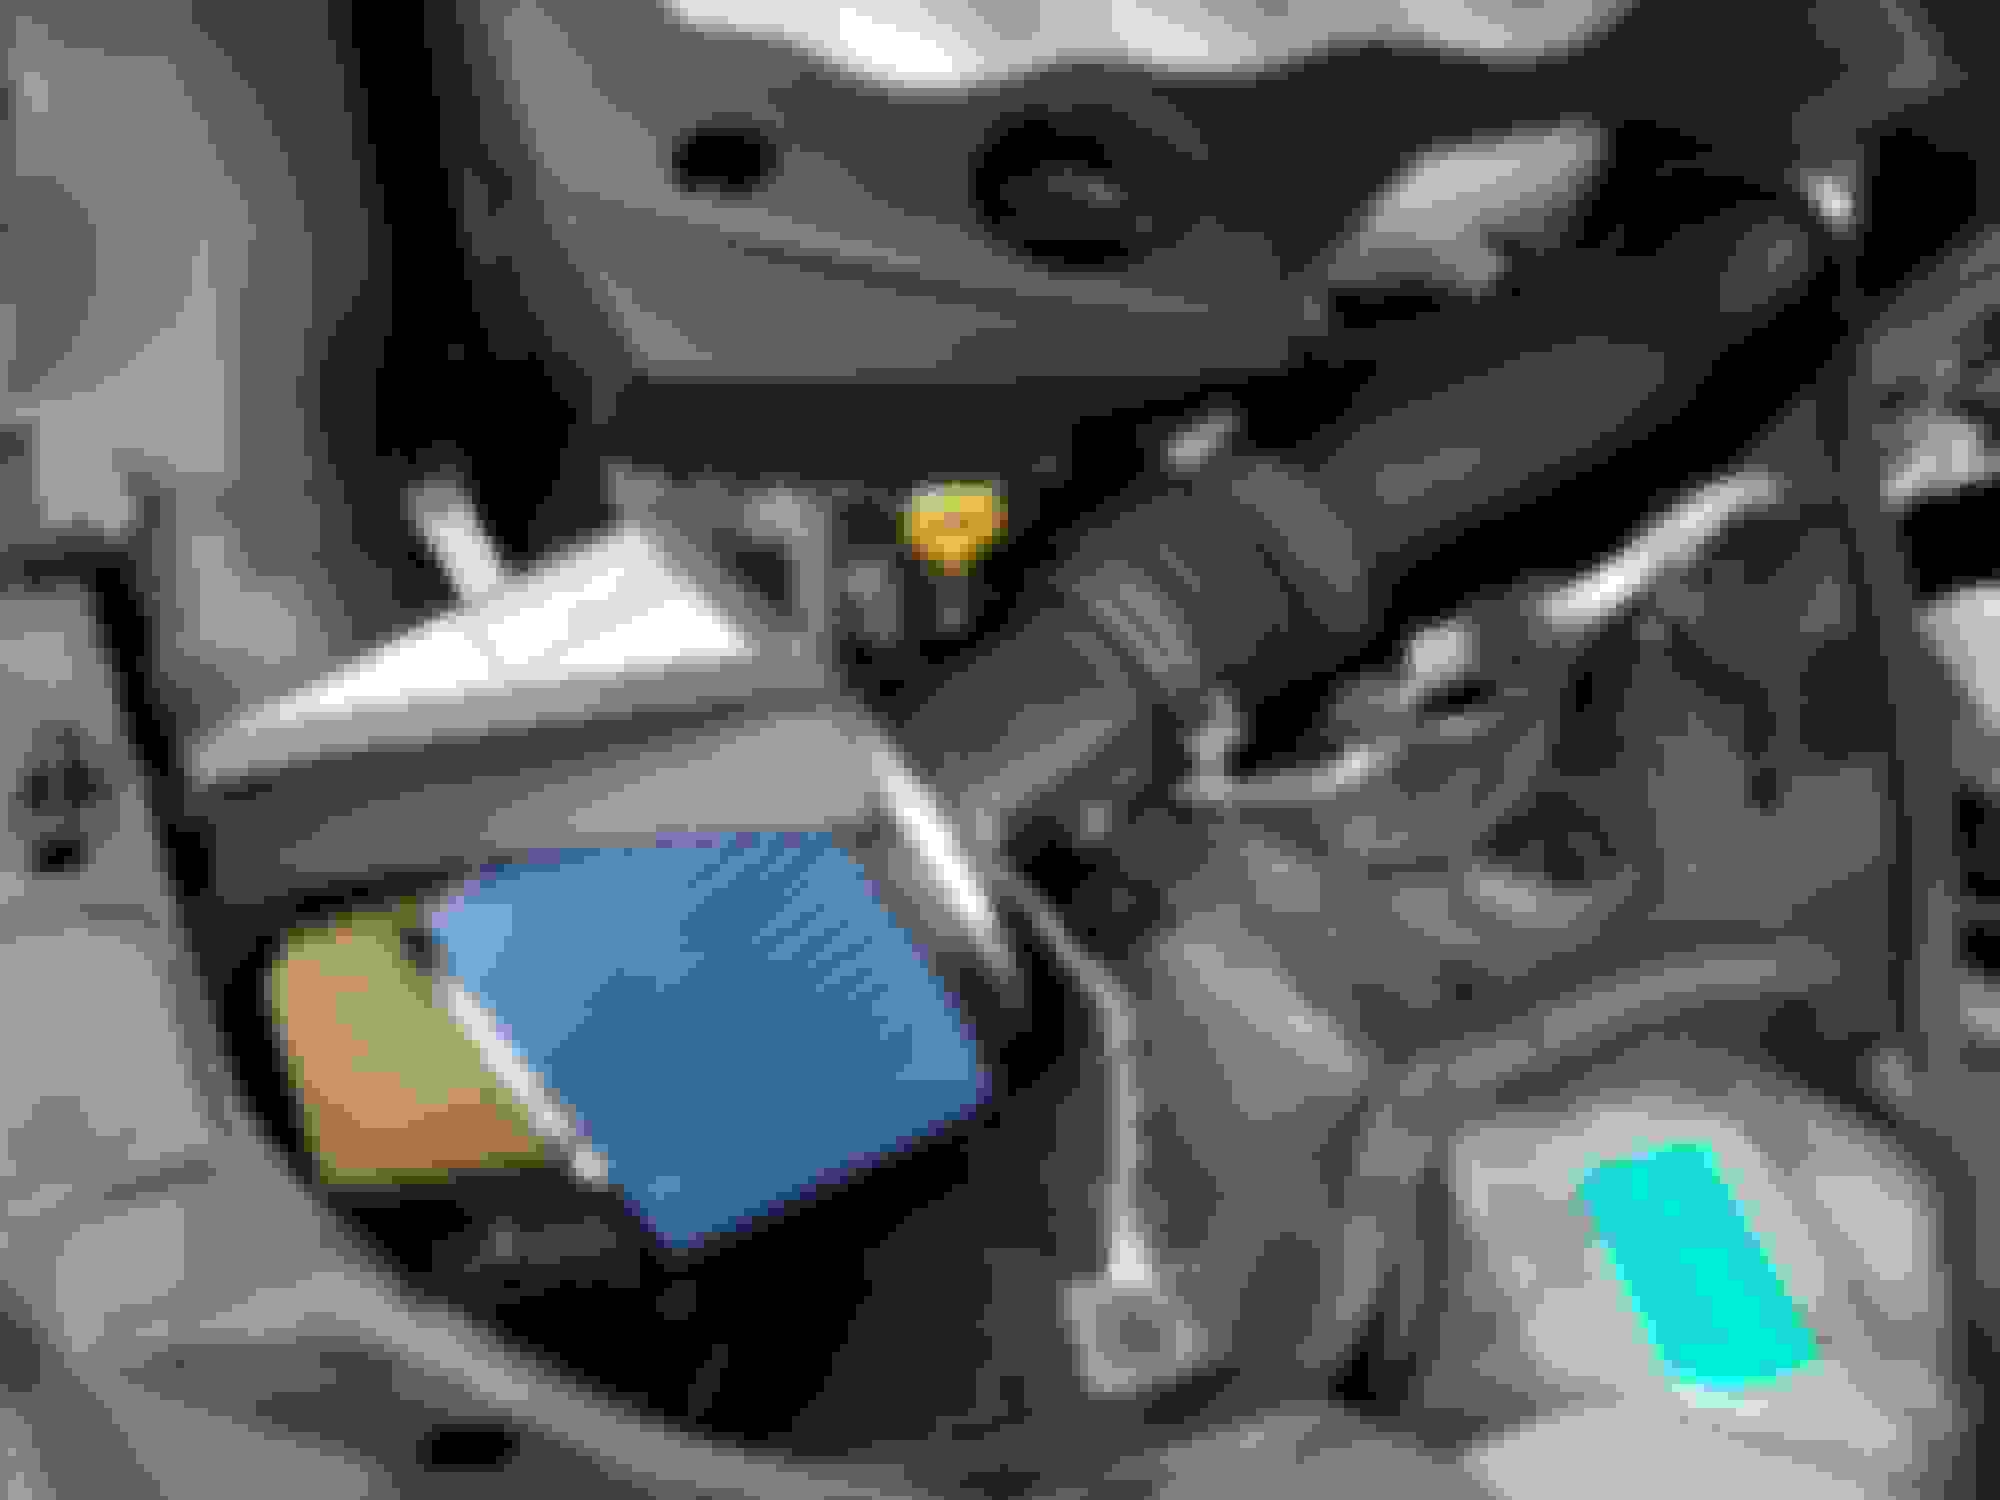
And finally I added a cold-air intake from JWT w/Stillen tube. I know Stillen has their own box/charger too but I prefer blue to red and it was a little cheaper to boot so no complaints. Wasn't expecting it to change the tone of the car as much as it did but so far I'm digging it. Sounds a bit meaner and throaty through the gears.
Next week will be some paint touchup and a detail (clay/wax) and possibly getting my front wheels re-finished thanks to the prior owner spraying some sort of acidic stuff on there that ate through the silver paint. All in all, a great few days!