
Wrathernaut's Double-Din Installation FAQ, Shopping and Resource List


Registered User
iTrader: (5)
If pioneer are grounded on the e-brake wire when they start up, they act just like if there was no e-brake wire connected. They need the bypass relay to allow video to be played to the front screen while driving (I believe rear video output is unaffected either way).
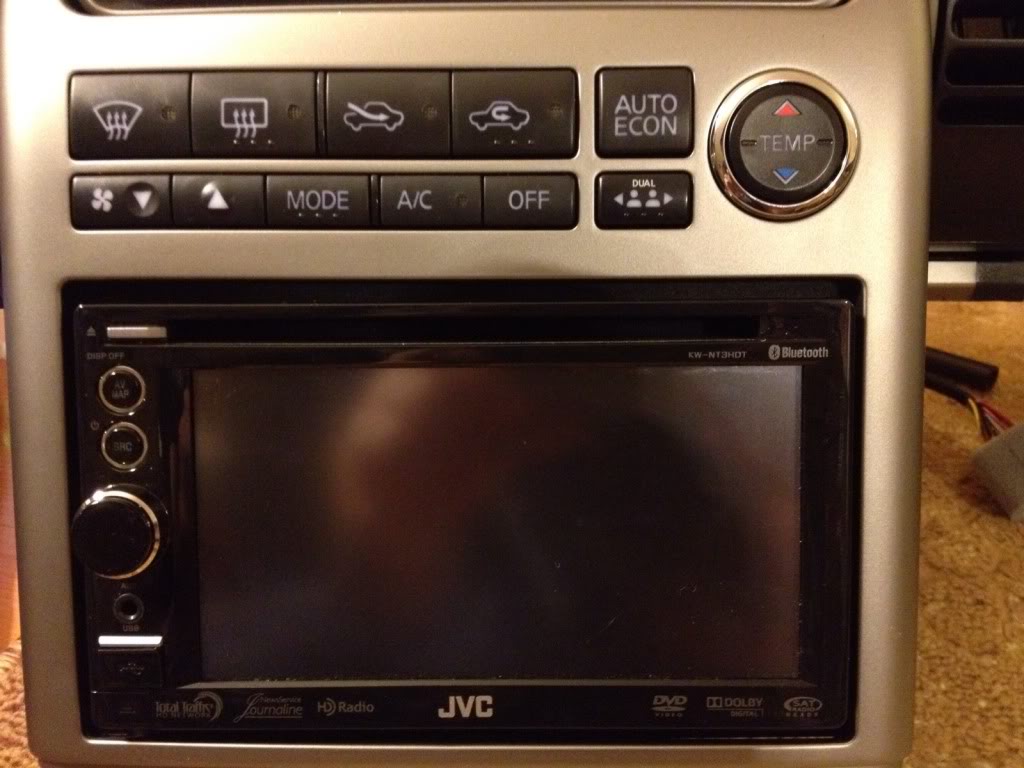
As for making it flush, drill your own holes for the screws on the bracket to flush the face with the trim, then just cut pieces of the scosche trim to fill in the resulting gaps.
As for making it flush, drill your own holes for the screws on the bracket to flush the face with the trim, then just cut pieces of the scosche trim to fill in the resulting gaps.
Registered User
iTrader: (5)
do two of the plugs stay unplugged after the install?
EDIT: i connected everything and the HU wont start. I measured the voltage between yellow & black then between red & black with a digital volt meter, the reading was kinda weird. It was reading many different numbers between 8 up to 13 volts on both yellow & red. it just keeps on changing between 8 to 11 then down to 9 up to 13 and so on.
So i tested the red & yellow again but with using the body as a ground it read 12.5 or so (cant remember but it was constant). I tabbed the stereo ground to the body and it booted up right away.
1- Any idea why the ground from the harness is not working?
2- Is it safe to tab it to the body?
3- do i tab only the stereo or do i tab the stereo on the harness ground to the body?
Last edited by SAMzG35; Jan 14, 2012 at 11:48 PM.

Does anybody know how to bypass the bose amp? I went through this install using a Pioneer P3300bt and pac roem nis2 and I am now trying to install subs. I was told that bypassing the bose amp would allow my headunit to power my speakers so that my subs could also be hooked up to the unit. Anyone have any imput?
do two of the plugs stay unplugged after the install?
EDIT: i connected everything and the HU wont start. I measured the voltage between yellow & black then between red & black with a digital volt meter, the reading was kinda weird. It was reading many different numbers between 8 up to 13 volts on both yellow & red. it just keeps on changing between 8 to 11 then down to 9 up to 13 and so on.
So i tested the red & yellow again but with using the body as a ground it read 12.5 or so (cant remember but it was constant). I tabbed the stereo ground to the body and it booted up right away.
1- Any idea why the ground from the harness is not working?
2- Is it safe to tab it to the body?
3- do i tab only the stereo or do i tab the stereo on the harness ground to the body?
EDIT: i connected everything and the HU wont start. I measured the voltage between yellow & black then between red & black with a digital volt meter, the reading was kinda weird. It was reading many different numbers between 8 up to 13 volts on both yellow & red. it just keeps on changing between 8 to 11 then down to 9 up to 13 and so on.
So i tested the red & yellow again but with using the body as a ground it read 12.5 or so (cant remember but it was constant). I tabbed the stereo ground to the body and it booted up right away.
1- Any idea why the ground from the harness is not working?
2- Is it safe to tab it to the body?
3- do i tab only the stereo or do i tab the stereo on the harness ground to the body?
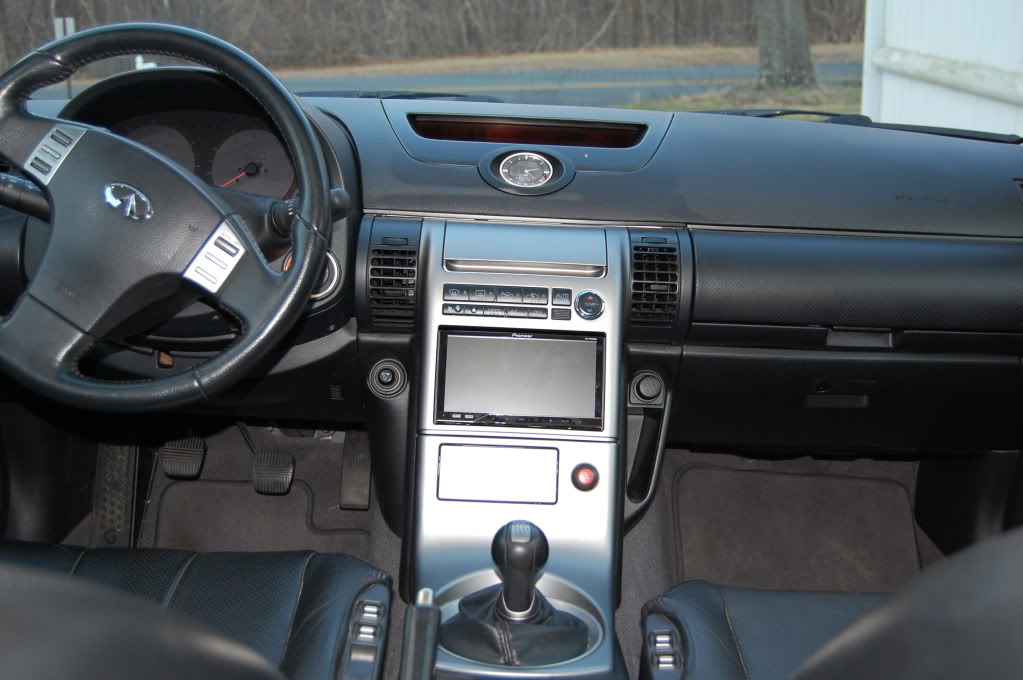
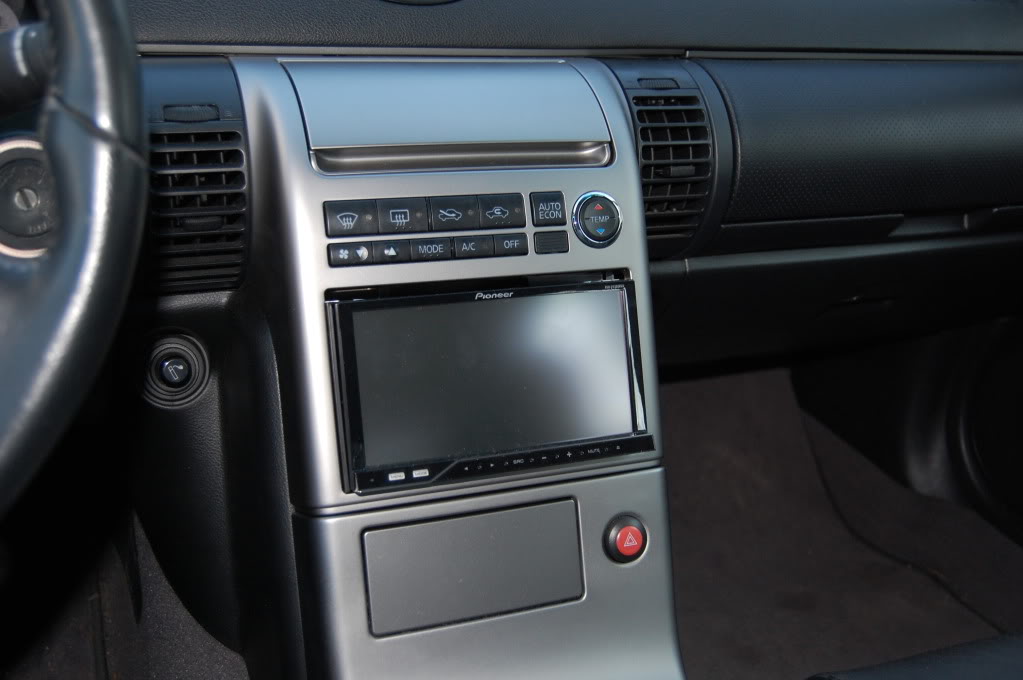
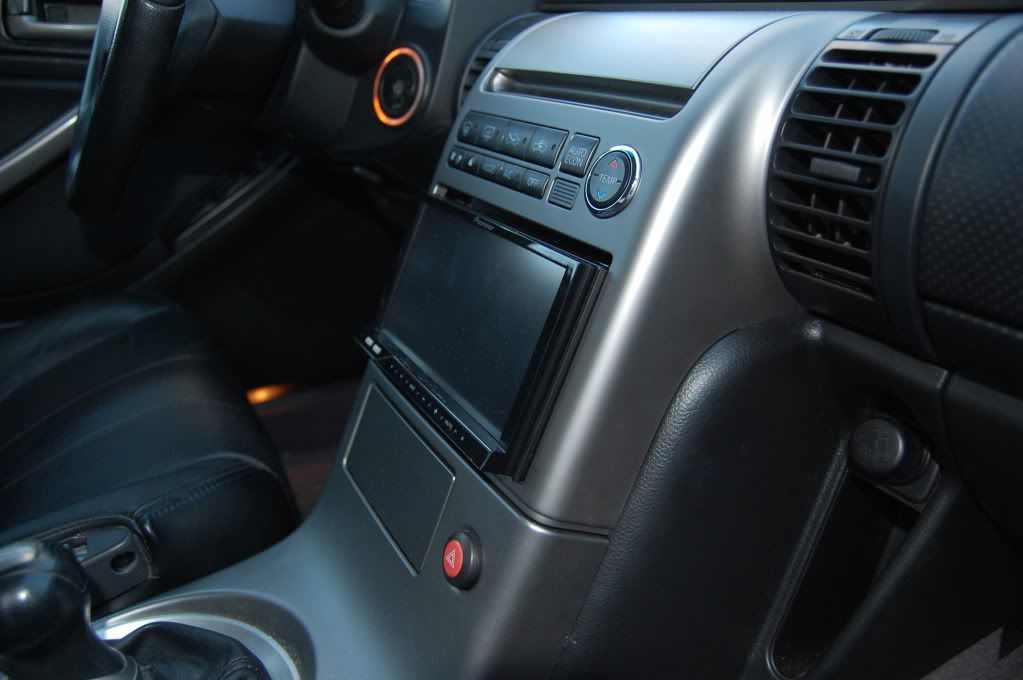
Just put the 4300 into my coupe with Bose, this thread was amazing and a big thanks to JZ and wrather for this amazing resource. Everything works like a charm, times like this that I really love the $ driver threads have saved me.
Registered User
iTrader: (5)
Wrathernauts, BIG thank you for this amazing thread. It made my install so much easier and almost headache free
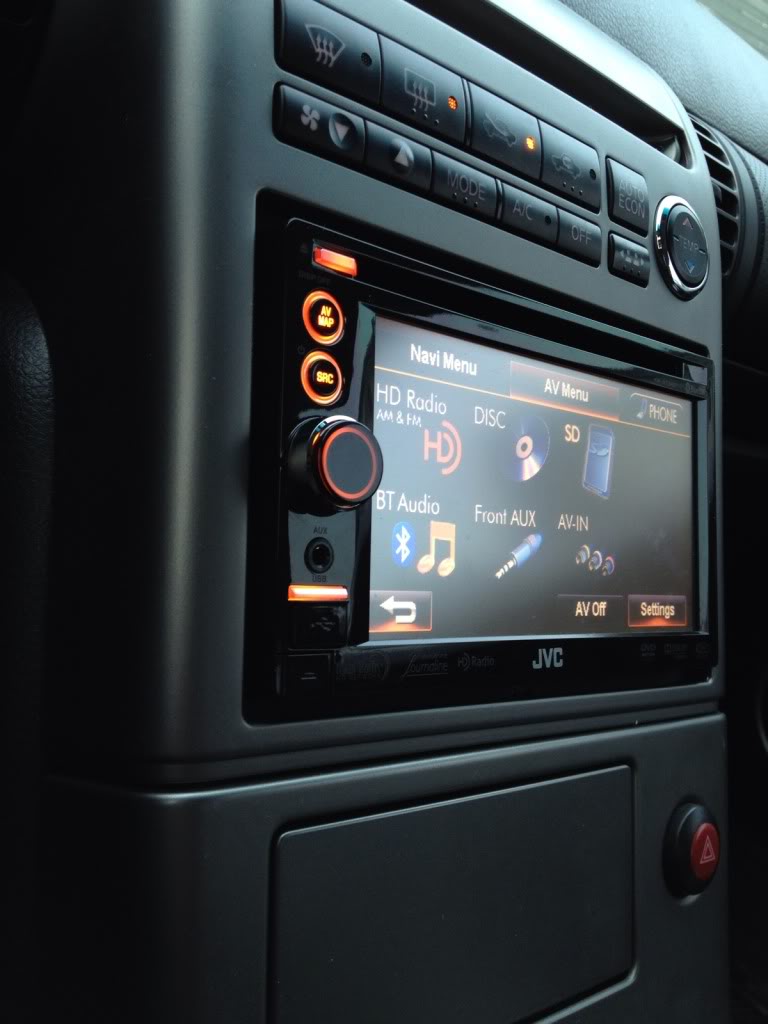
night shots
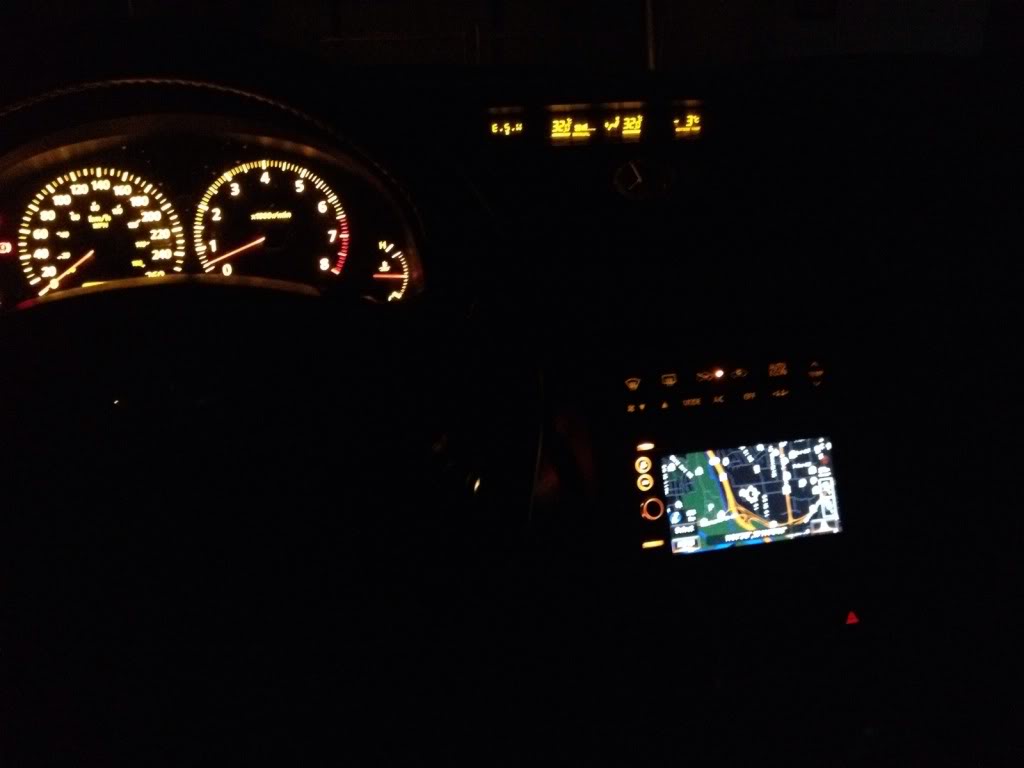
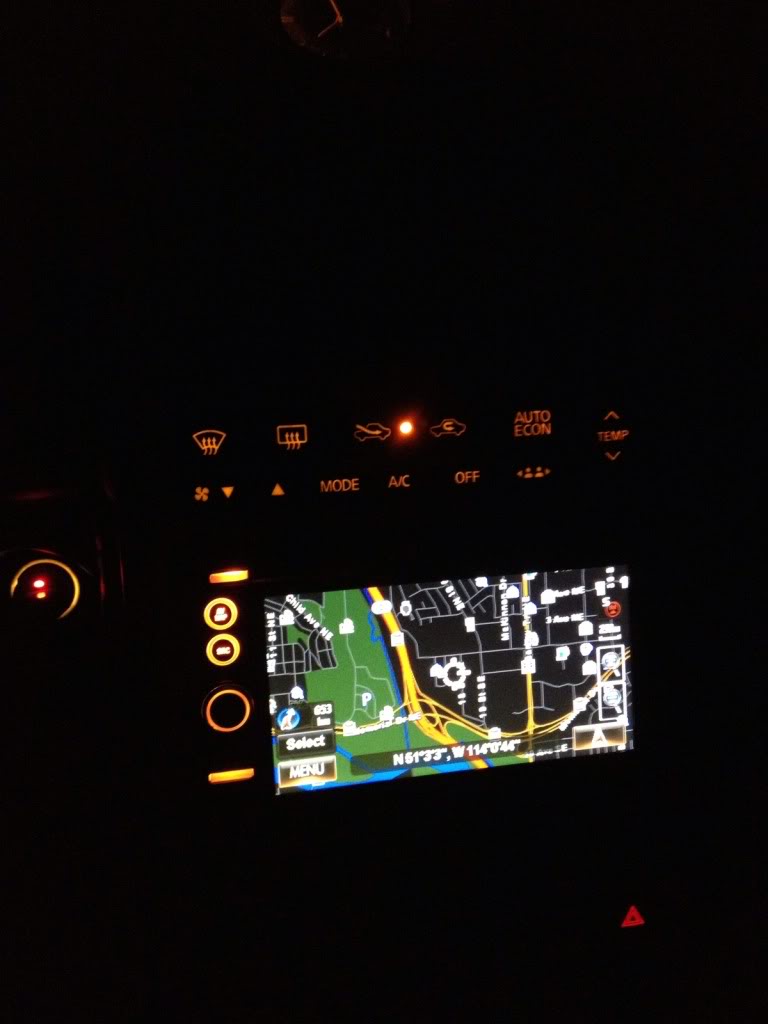
navi
bluetooth
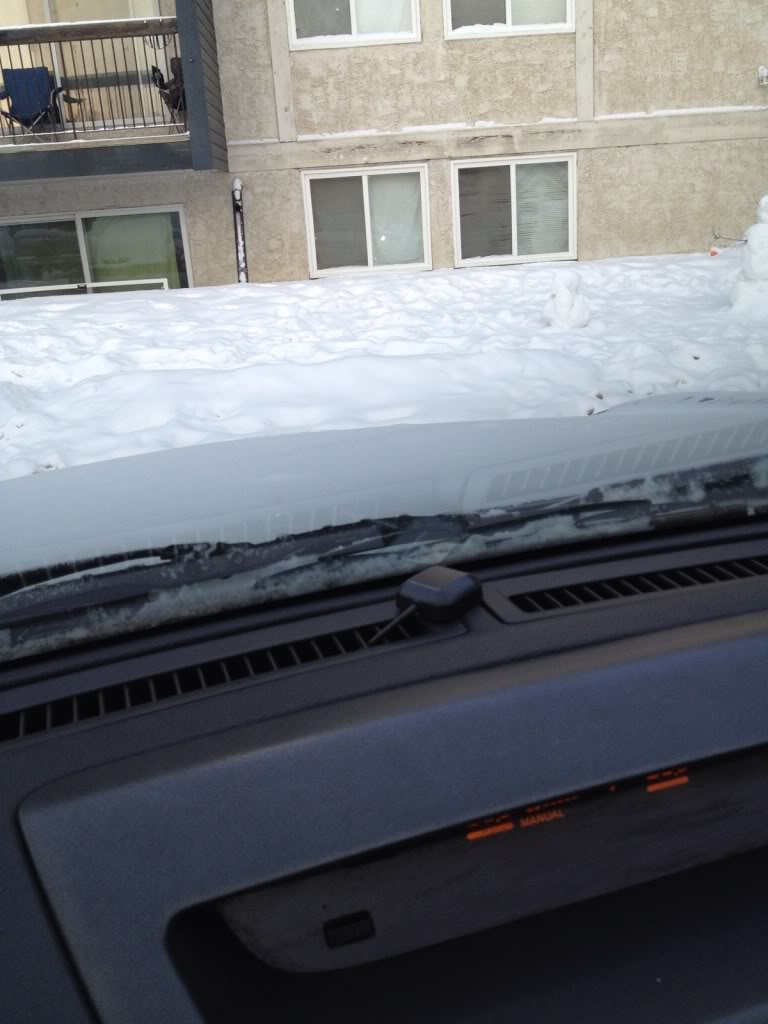
and our beautiful weather

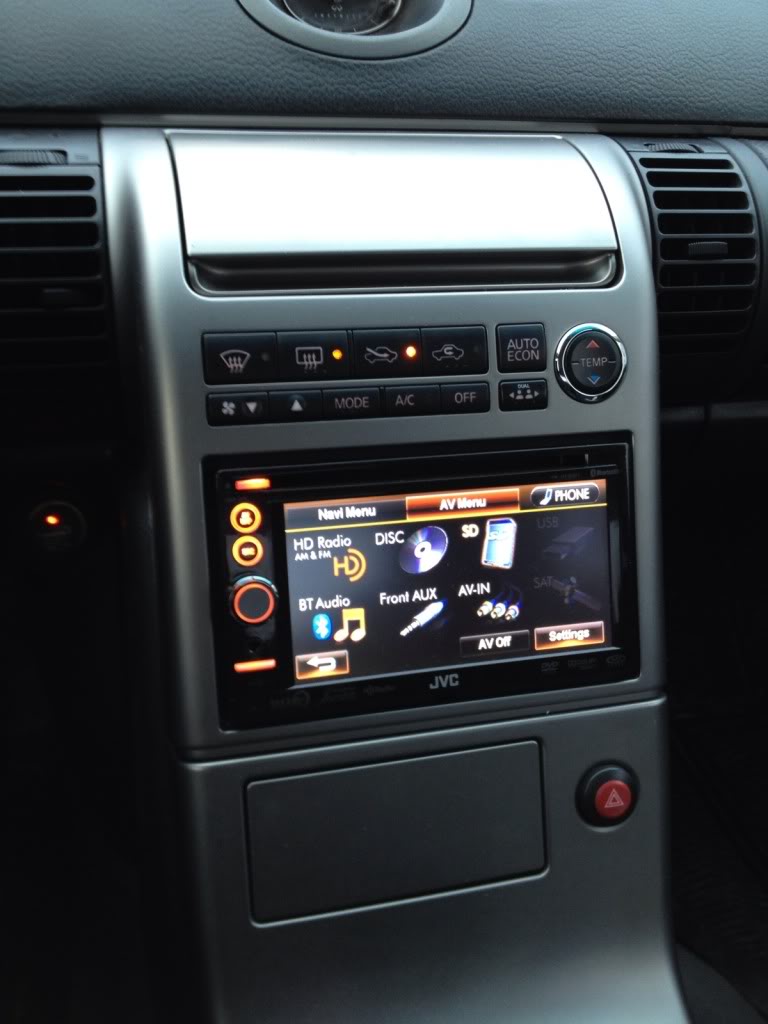
night shots
navi
bluetooth
and our beautiful weather

Registered User
Joined: Apr 2010
Posts: 17
Likes: 0
From: Denver Colorado
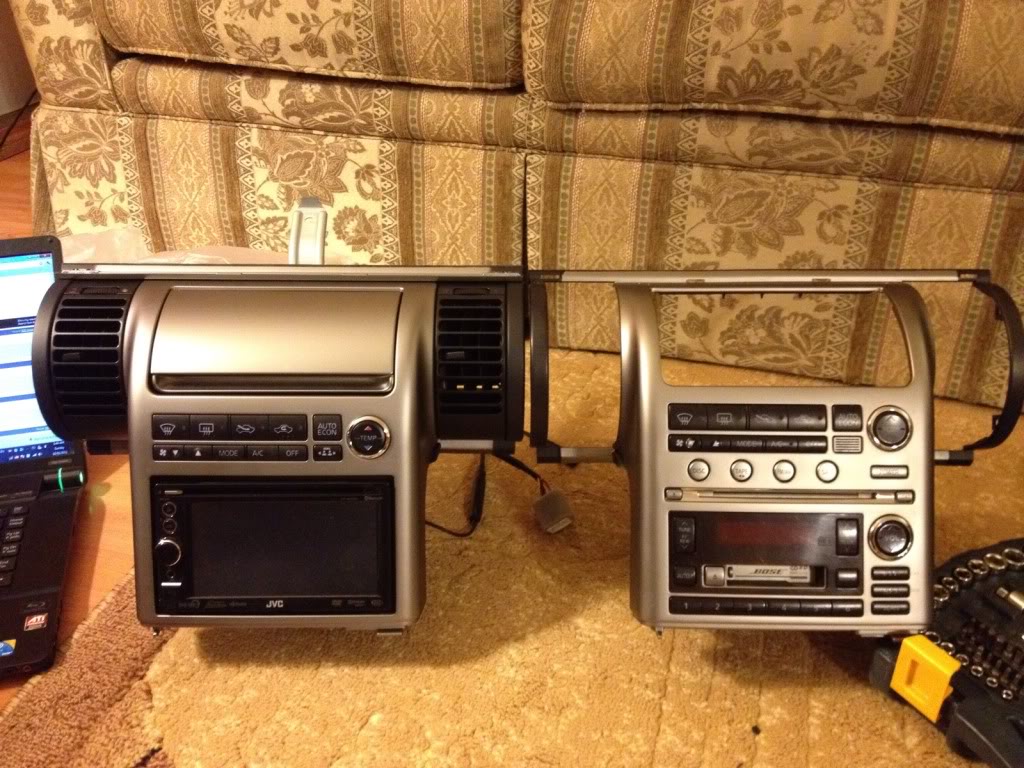
2003 - 2004 Coupe Double Din Dash Kits
I just wanted to let everyone know that Beshoff Infiniti of San Jose California on Ebay is listing there dash kits at a Buy It Now price of $299.00 dollars for JDM kits from Japan. I talked with Phil @ Grubbs and he said that was a great price as there dash kits are going up due to demand and increase from there supplier. Beshoff Infiniti has at least 27 of them available in silver and black. The listing number is 180730726296 just wanted to let you all know.
Registered User
iTrader: (5)
I just wanted to let everyone know that Beshoff Infiniti of San Jose California on Ebay is listing there dash kits at a Buy It Now price of $299.00 dollars for JDM kits from Japan. I talked with Phil @ Grubbs and he said that was a great price as there dash kits are going up due to demand and increase from there supplier. Beshoff Infiniti has at least 27 of them available in silver and black. The listing number is 180730726296 just wanted to let you all know.
thanks for sharing anyways lol
i know! push of a button and it works!!
Did you do that home made plug?
This is my post from another thread:
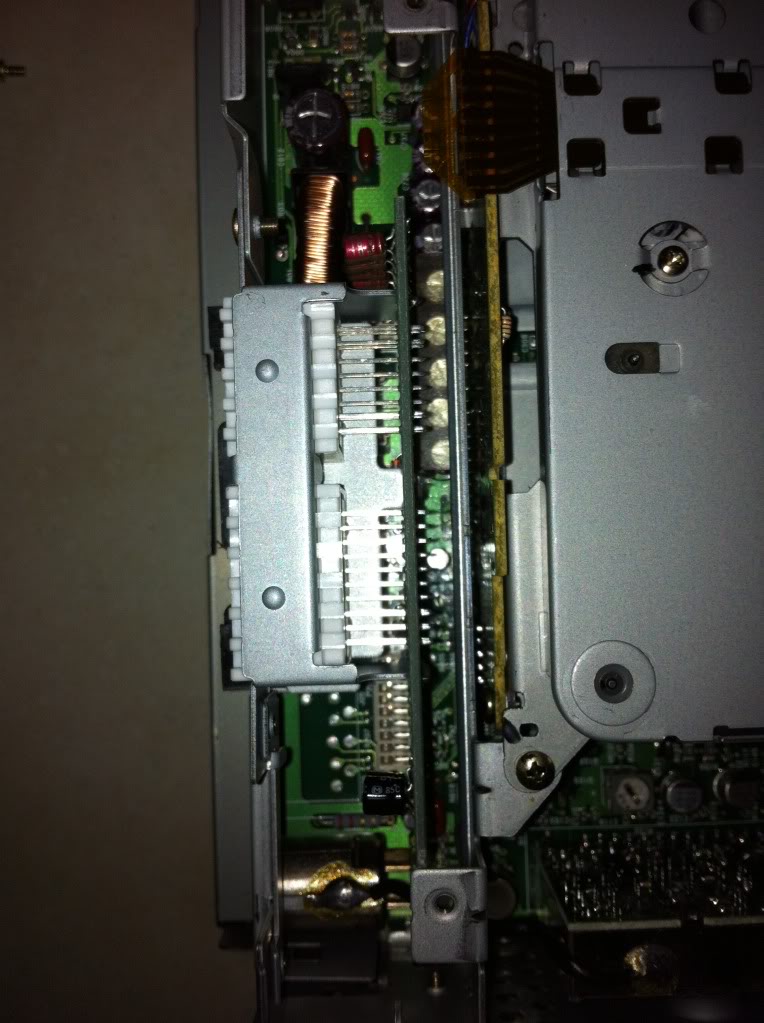
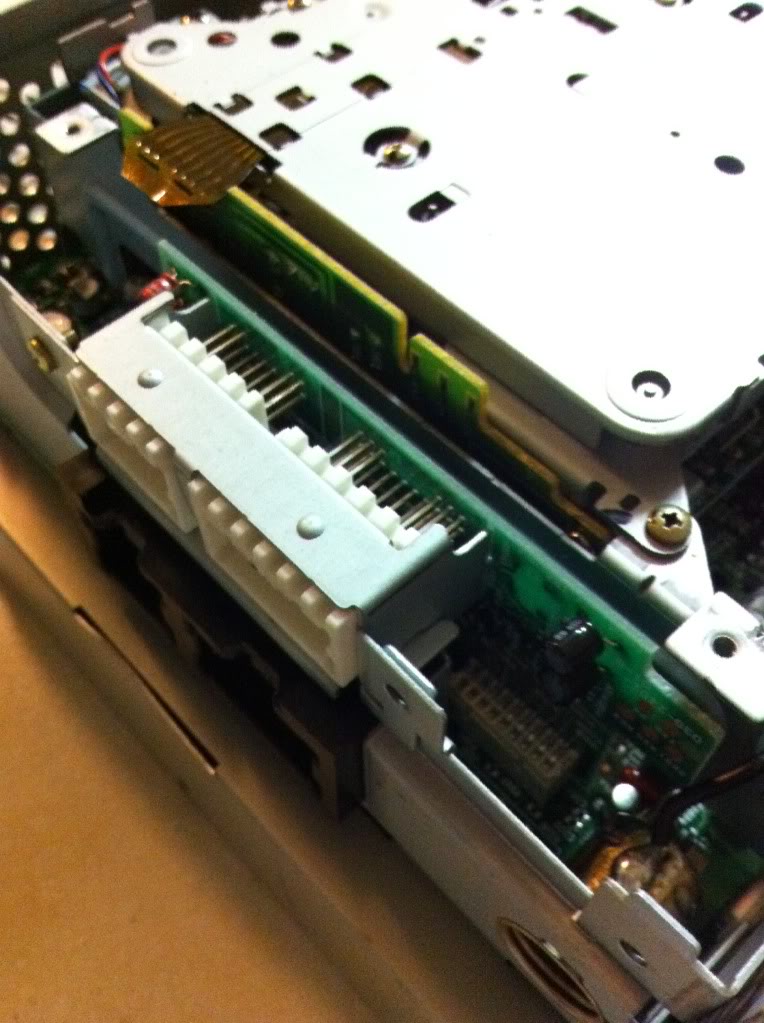
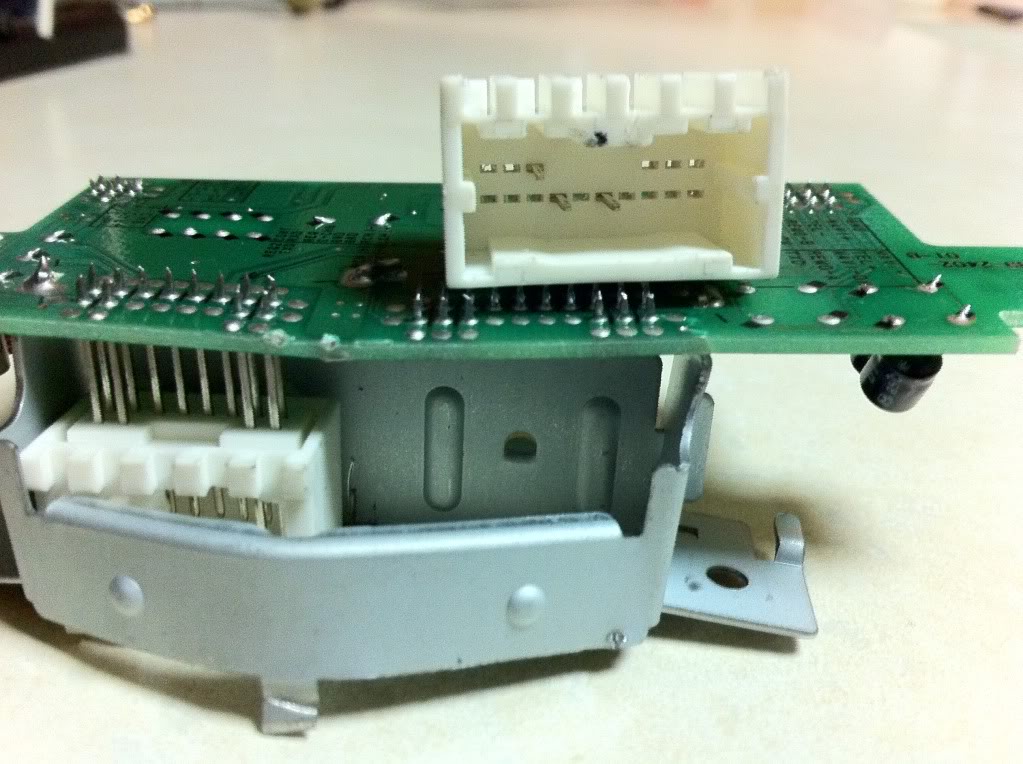
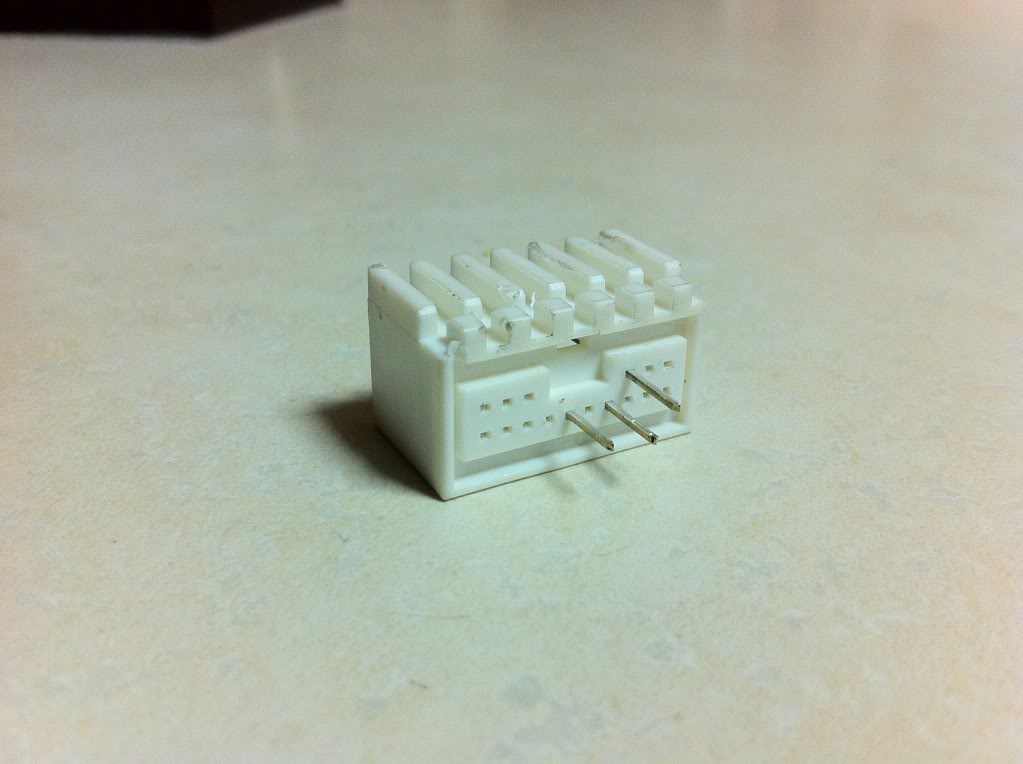
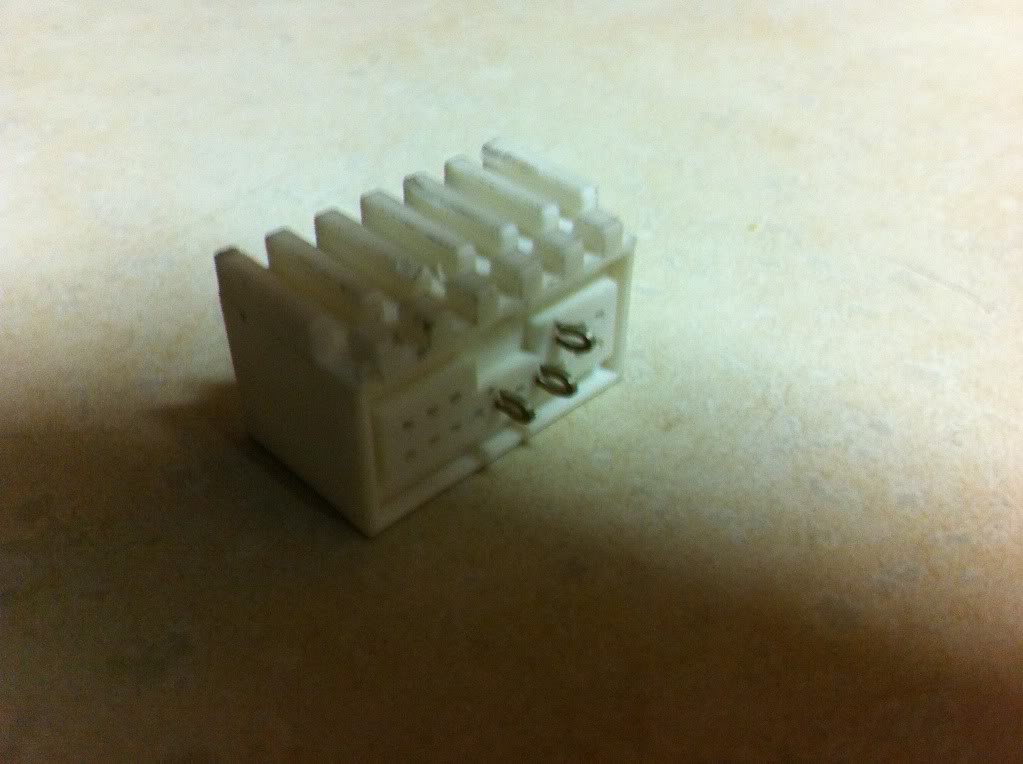
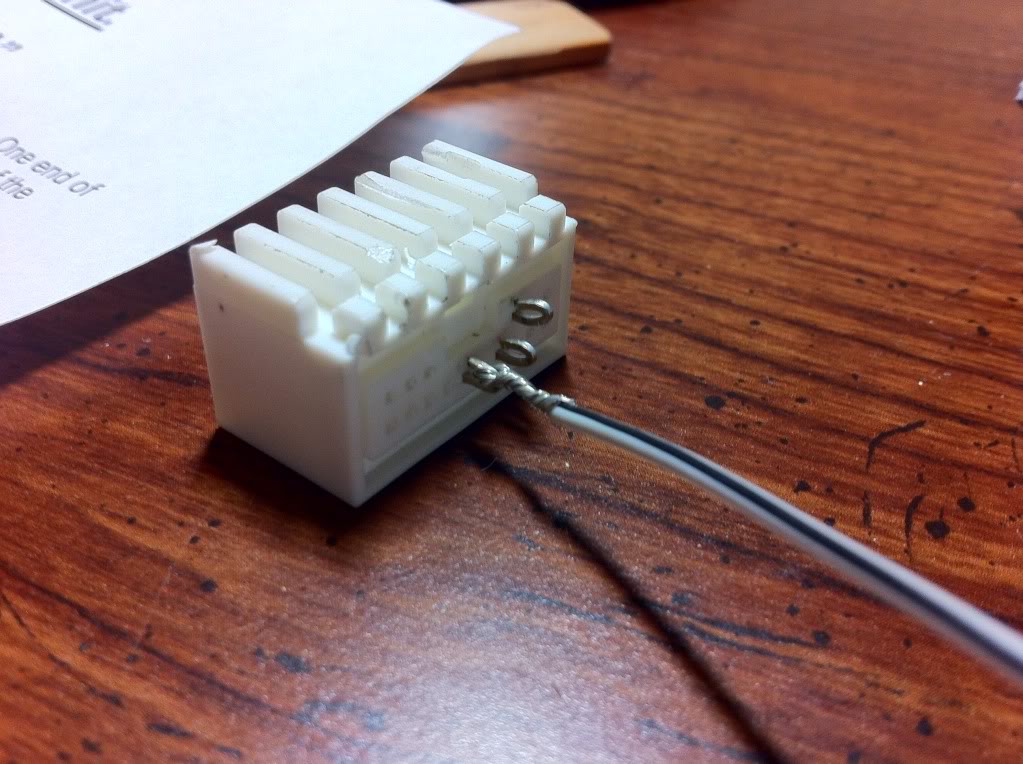
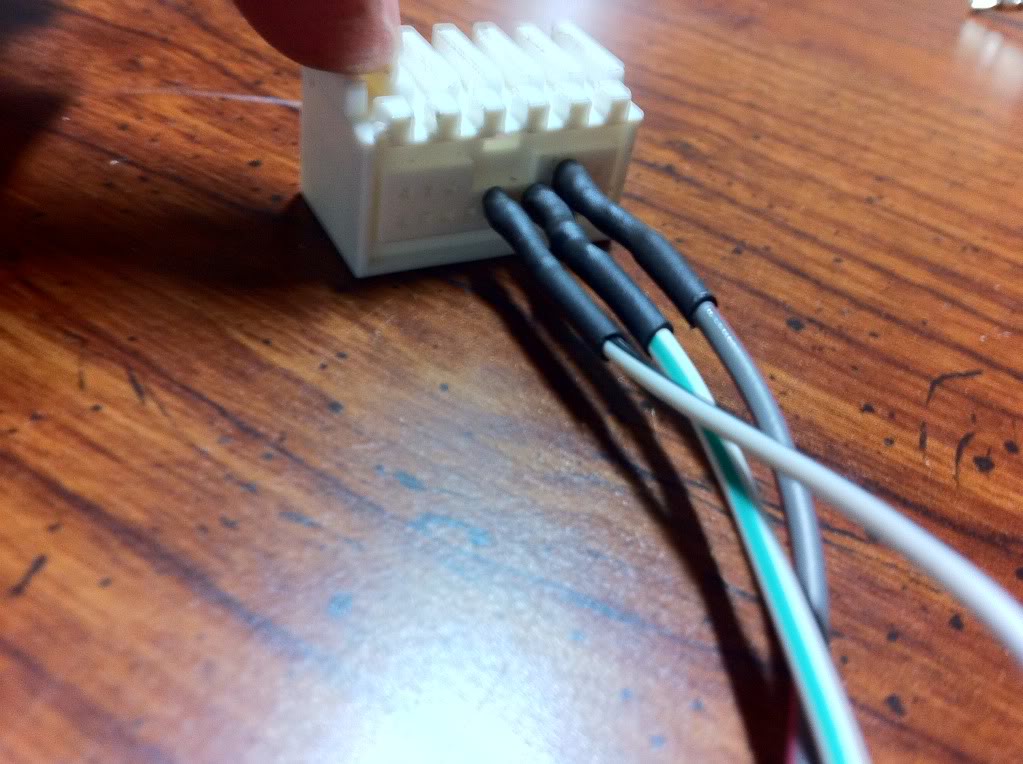
The ASWC is a pretty easy installation. I plugged the 3.5mm wire into the wrong plug on my headunit and found that to be the problem hours later. So, make sure all your connections are correct. It's a good idea to use the headunit's plug and not hard to make. The hardest part is taking it off the circuit board. Pictures below to show how easy it is.
Once you have all your connections and double checked them, turn the ignition to "ON", after hold the VOLUME UP BUTTON (on the steering wheel) until the red light on the ASWC stops blinking. Your wheel controls should be working after it continues to blink for a few seconds.
This is the direction shown in "Silver tiburon's" post on Page 1.
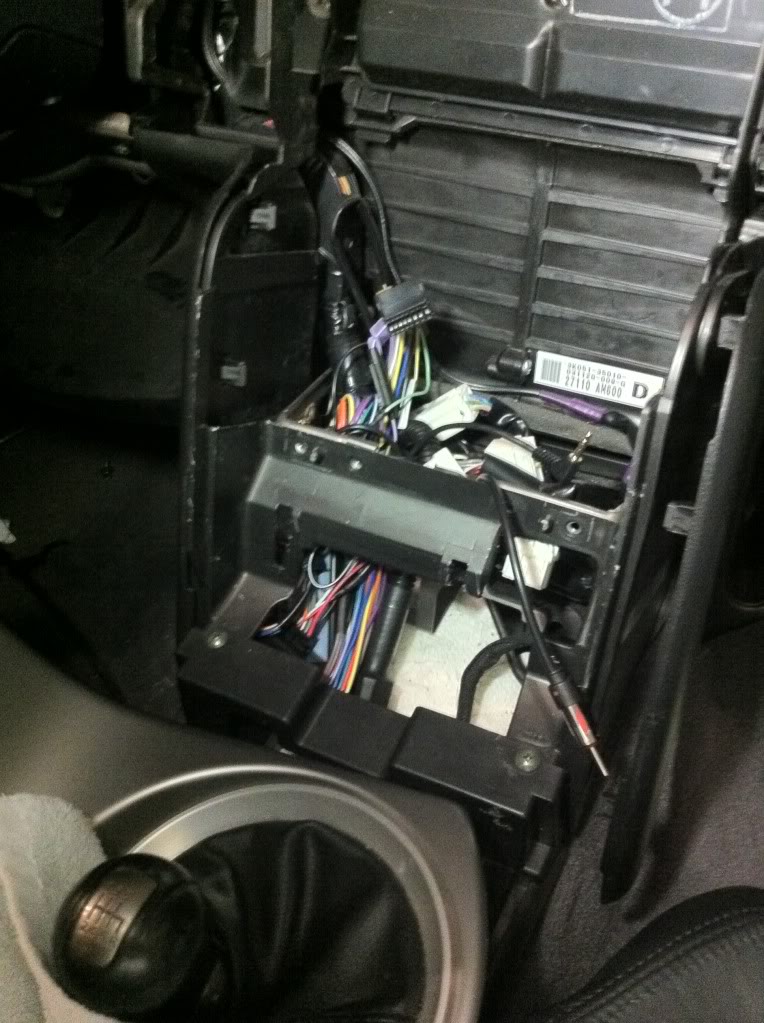
And then stuff everything on the lower left side. I have the PAC, steering, and bypass harnesses stuffed down there:
The ASWC is a pretty easy installation. I plugged the 3.5mm wire into the wrong plug on my headunit and found that to be the problem hours later. So, make sure all your connections are correct. It's a good idea to use the headunit's plug and not hard to make. The hardest part is taking it off the circuit board. Pictures below to show how easy it is.
Once you have all your connections and double checked them, turn the ignition to "ON", after hold the VOLUME UP BUTTON (on the steering wheel) until the red light on the ASWC stops blinking. Your wheel controls should be working after it continues to blink for a few seconds.
This is the direction shown in "Silver tiburon's" post on Page 1.
And then stuff everything on the lower left side. I have the PAC, steering, and bypass harnesses stuffed down there: