When you click on links to various merchants on this site and make a purchase, this can result in this site earning a commission. Affiliate programs and affiliations include, but are not limited to, the eBay Partner Network.
replaced crankshaft positioning sensor (gas mileage went up 2 mpg)
bumped into the girlfriends car and dinged up the right rear fender cover. Had to take it off to push out the ding (kinda big)
while in the job decided to fix all the carpet issues in the trunk (lots of rips and holes, folded over spots, etc...)
cleaned the floor mats
replaced the driver side tie rod end link
Bought a new car last October due to the G getting a bunch of annoying issues, it's pretty much sat since then. My daughter gets her permit in a month, so I brought it into the garage to get started.
Corn teen G fix up project:
- replace radiator and hoses (minor leak somewhere)
- replace thermostat
- replace belts
- annual air filter cleaning
- flush/replace power steering fluid
- restore headlights (fighting a yellowing battle)
- replace inner tie rods & boots (did outer last fall, shop pointed out a lot of slop on the inners)
- replace ball joints (boots didn't seal properly causing them to dry out)
- replace upper control arms (only factory arms left, lol)
- evaluate sway bar end links and compression rod ball joints while front is taken apart
Daughter also now wants a new radio with Bluetooth streaming. Guess I'll be keeping an eye on the classifieds for OEM din kits. Kinda mad I sold one I had a few years ago but never used it.
Did headlights yesterday, came out nice. Put her to work sanding and taping them off. Coated with a 2K clear, hopefully hold up better than regular polish and sealant.
Took the G on a 200 mile ride to the mountains and back to climb Mount Eisenhower, the first time I really opened it up and beat on it since I took my transmission apart myself. All fixed, I wish I could have done the 5-6 syncros while I was in there but it's comforting knowing all the rest have tons of life left - and I know exactly what tools I need to do the job next time my transmission is out...
Not directly G related but I graduated from school and got a full time engineering job. Finally some money coming in to make my G look like less of a jalopy!
Thanks for the photos, always curious to see what these looked like inside. Those are some seriously beefy gears in there. Those things aint going to break easy,
Why didn't you do the synchros while you were in there? I've also got one of these original boxes in a 2003, other than being typically notchy all the gears go in no problems. Then again only 69,000km on it. No idea where to check to see what I got, CD001,2 3 or 4??
Doing 5/6 synchros would have involved another 2 or so hours of work pulling off the reverse gears, pressing the shafts out of the housing, pulling gears, and pressing it back together. Those syncros are actually quite accessible and easy to do with the right tools, but because of the quarantine my friend with a press, bench vice, clean working space, pullers etc couldn't have me over due to at-risk grandparents and since the problem was fixed I threw it back together so I'd have a car to drive around to preserve my sanity...
The third and 5th gears look like they're sintered together but all the other gears looked totally indestructible. I know I'll be taking that gearbox apart again someday when the old G gets the full racecar/LS swap treatment, I'll do it properly then when I actually have some disposable income and a daily driver.
Ah makes sense. These seem to have no problem handling lots of power.
Can't wait to yank my car out of storage in a few days. Weather is just awful here but finally looking up for this weekend.
finally got some projectors for my g, i got it cheaper than i thought it would be but it need some TLC for sure..... so what color should i paint the inside
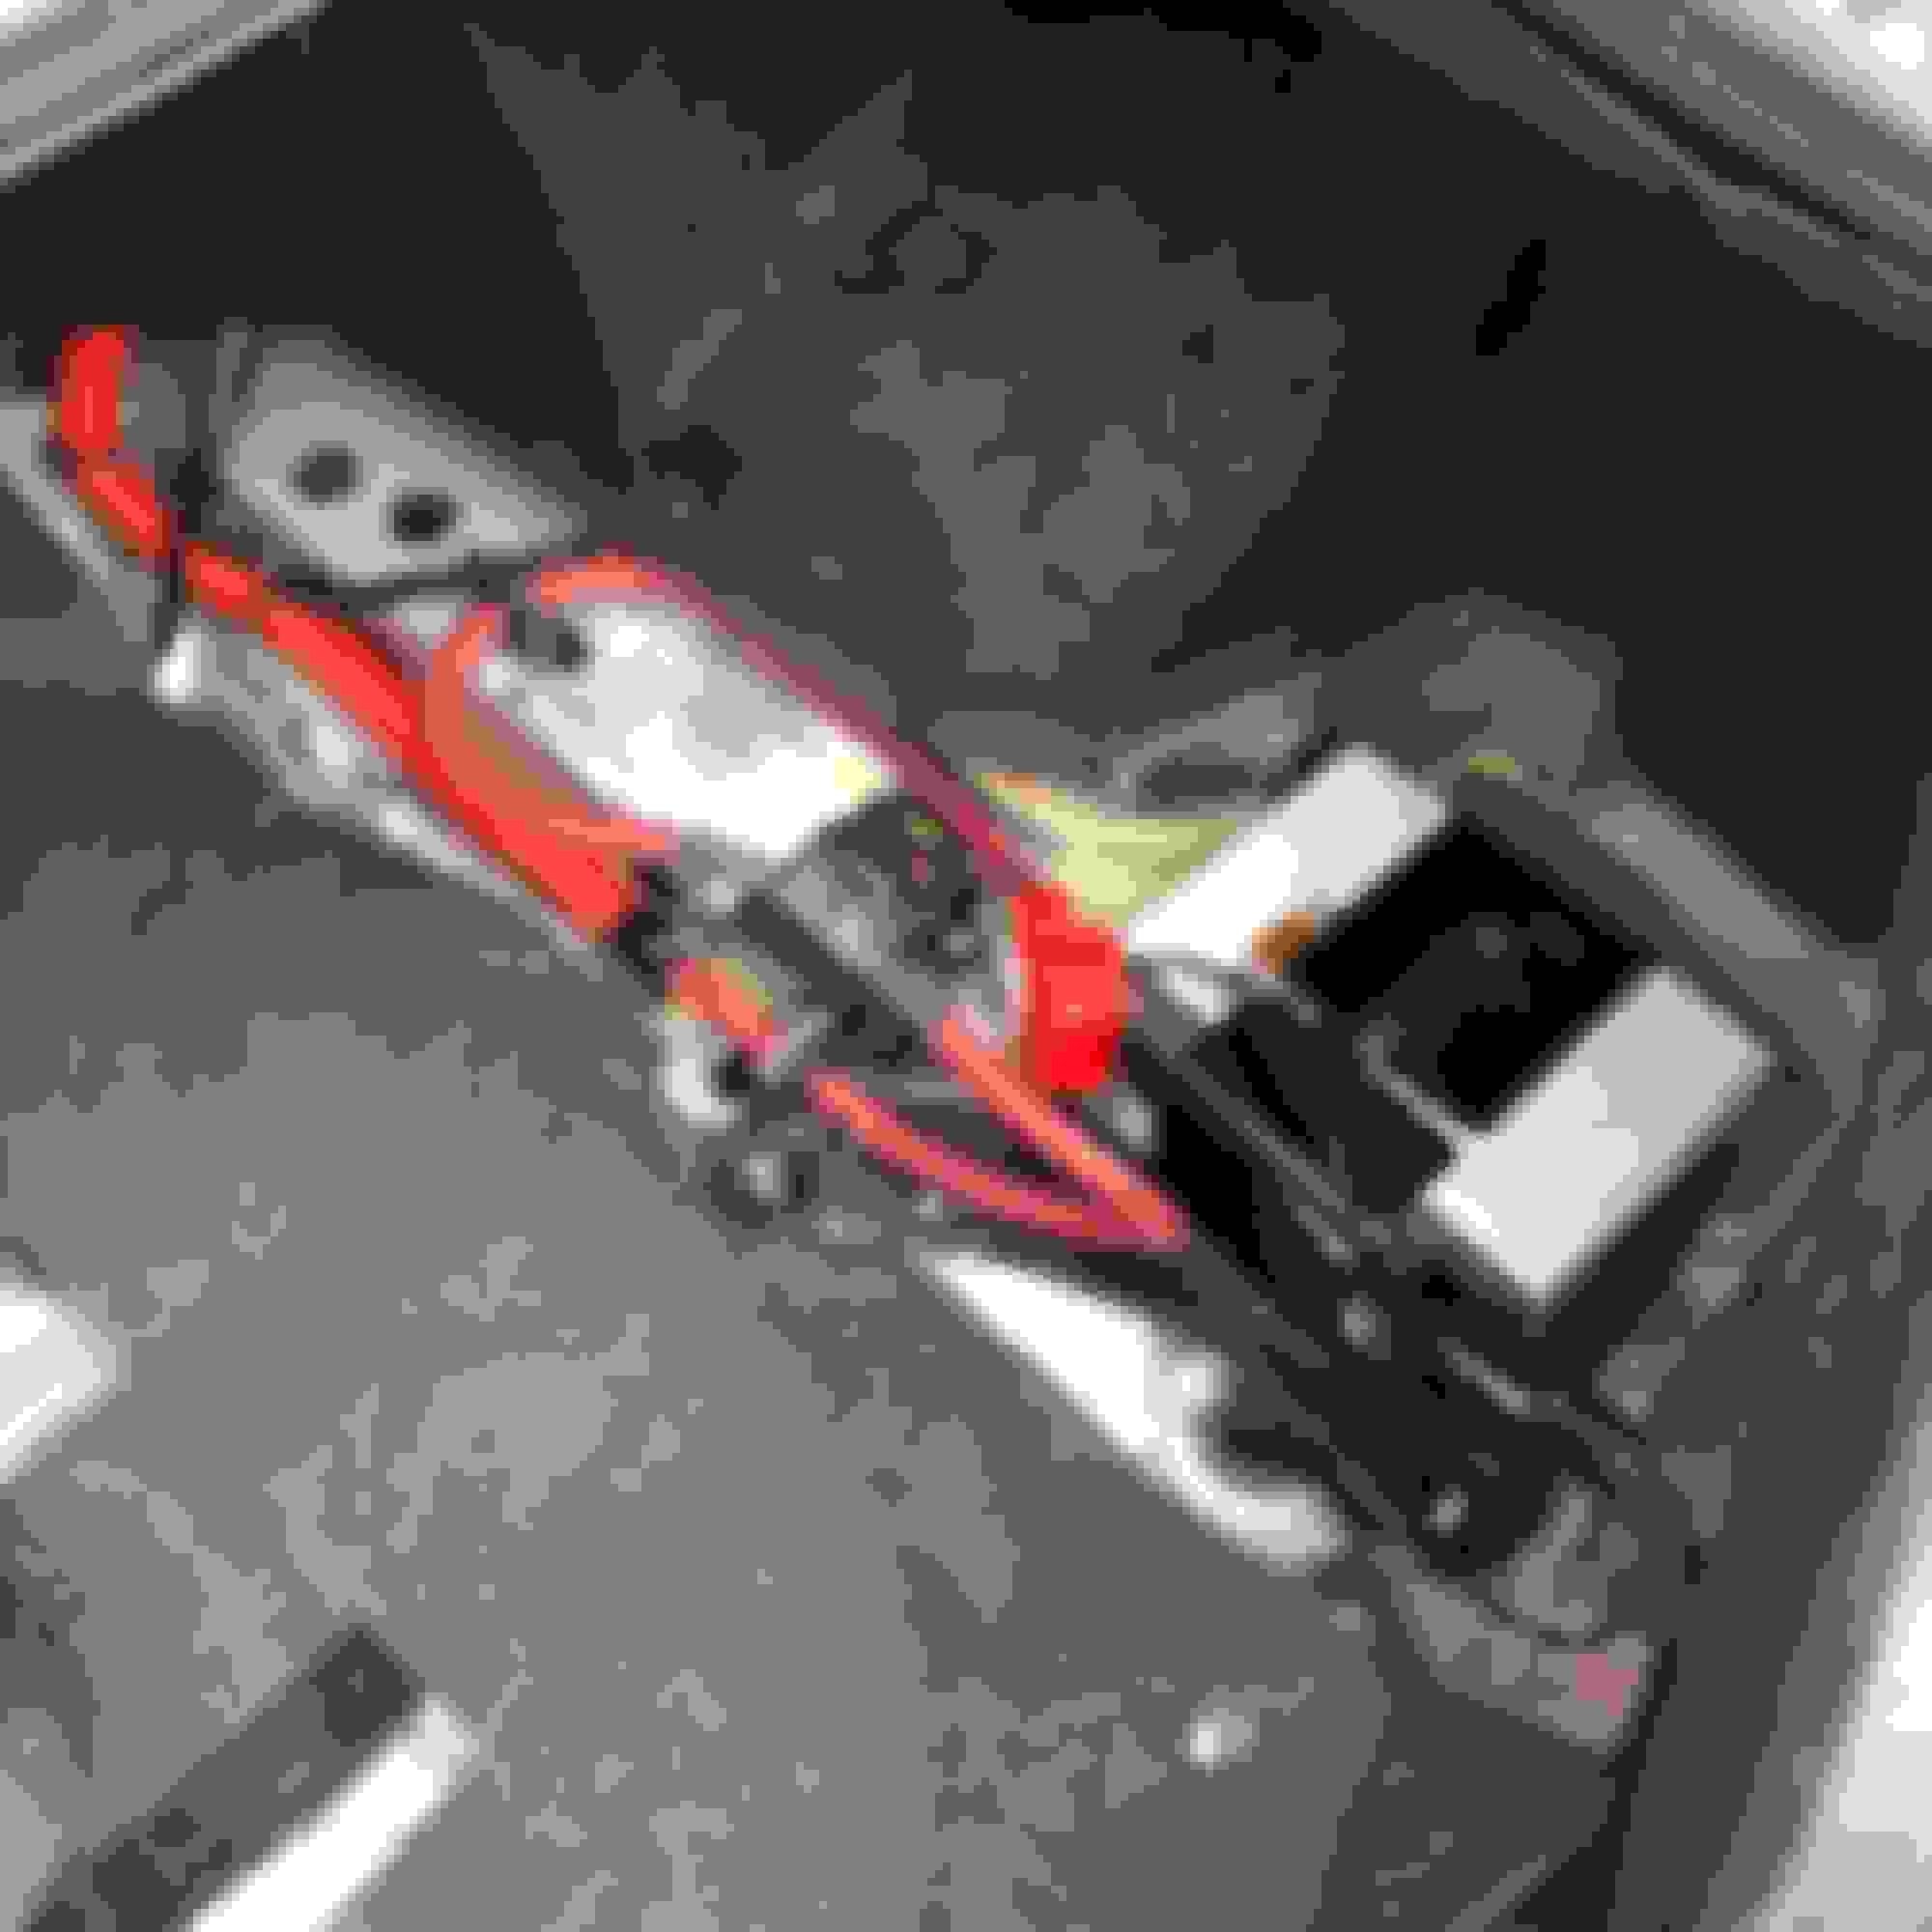
Finished up my battery relocation today. Battery tender plug is routed outside, singer 200amp breaker is easily accessible, wiring is protected in a loom, carbon contact spots are isolated where possible (carbon is conductive), but just in case I also cleared all the carbon bits and battery brackets. Pretty happy with how it turned out as I really wanted a clean, reliable, and easy to access setup. The jack and wrench will go in a bag on top of the tire.
oh and I also made the bottom half of my splitter mold, need to clean it up, and do the top half next....<downforce loading>
Any reason why u relocated the battery to the trunk?
Any reason why u relocated the battery to the trunk?
multiple reasons, but mostly due to weight distribution. The front of our cars is a wee bit too heavy and in general the cars tend to push / understeer at the track. One solution is to relocate weight or reduce weight up front. So the battery relocation to the rear right corner is a logical spot.
Front end weight reduction is also the reason I made an all carbon front crash bar/brace (7lbs lighter than the OEM part and about the same torsional rigidity):
that brace alone saved about 7lb from the very front tip of the car.
I also removed the front washer bottle since it's too far forward in my opinion and will try to relocate it to the rear, although the tubing pressure drop might mean it won't work very well. I'll test and see, may need to modify it further. Also I'm remaking my front splitter, which is super heavy (fiberglass and lots of bondo) into all carbon.
All of this is to make a GT3/CSL/RS/M - type version of this car. Its a fun project for me that stretches my fabrication abilities and is certainly a learning exercise. Another reason is to be faster on track; I love the idea of chasing down newer showroom-fresh hardware on track with a 15 year old car.


 Hopefully I'll throw mine on around mid May if not sooner.